Not sure which integration to use? See the Google Pay overview to compare all three options.
Requirements
Ensure you meet the general Google Pay requirements.Providers
To incorporate Google Pay into your system using Yuno, select one provider supporting this payment method first. You must have credentials to connect to the selected provider using Yuno dashboard before integrating Google Pay.Integration
You need to cover some steps to integrate Google Pay into your system using Yuno.- First, you will review Google’s approval process for Android devices or Google Pay on the Web.
- Get the developer credentials from the provider you choose to start using with Yuno.
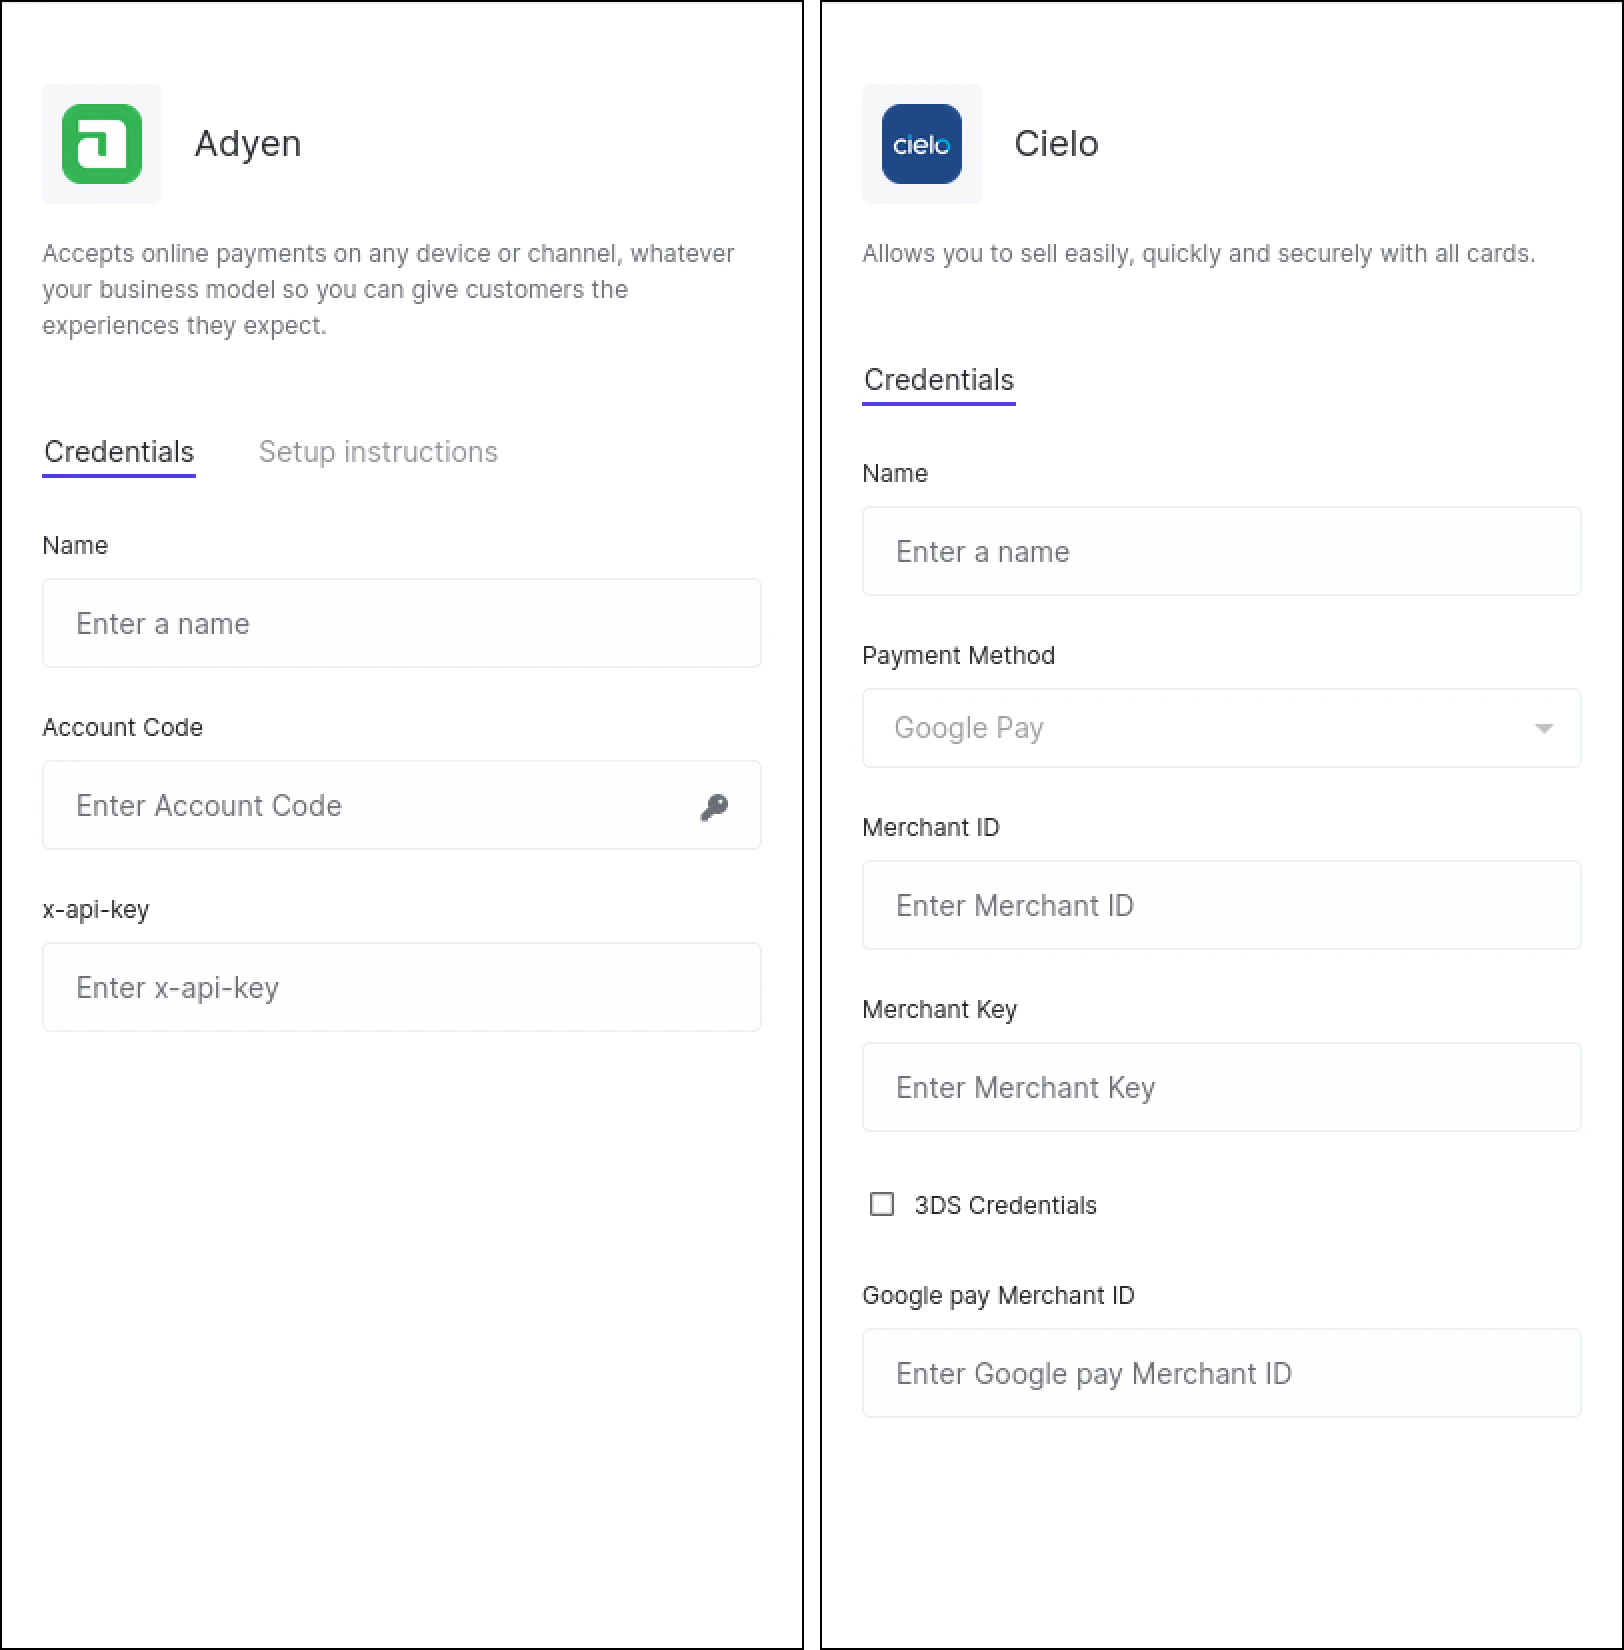
Adyen ConnectionFor Adyen, merchants need to create a testing account and get a Merchant Account and a x-api-key.
- Within the Yuno dashboard, select the Connections tab. Find the provider you choose and click Connect. Fulfill the side panel fields with your credentials. Below, you will find examples of connecting panels for Adyen and Cielo.
- Create a route in Yuno’s dashboard using the gateway you have connected. Access the Configure dynamic routing guide page for further information on creating routes.
Enable and test Google Pay with Yuno
After performing the integration on Yuno, you can enable Google Pay with Yuno and perform integration tests using the following steps:- First, integrate Yuno’s SDK into your app to ensure a smooth connection between your application and Yuno’s platform.
- Create a Google Wallet Test Account:
- Visit the Google Wallet Test Account Sign-In page.
- If you don’t have a Google account, you’ll need to create one to proceed.
- Once signed in, you’ll be redirected to the Google Wallet business console.
- Access the Google Wallet API Section:
- In the Google Wallet business console, navigate to the section related to API management or integration. It is found in the developer or integration settings.
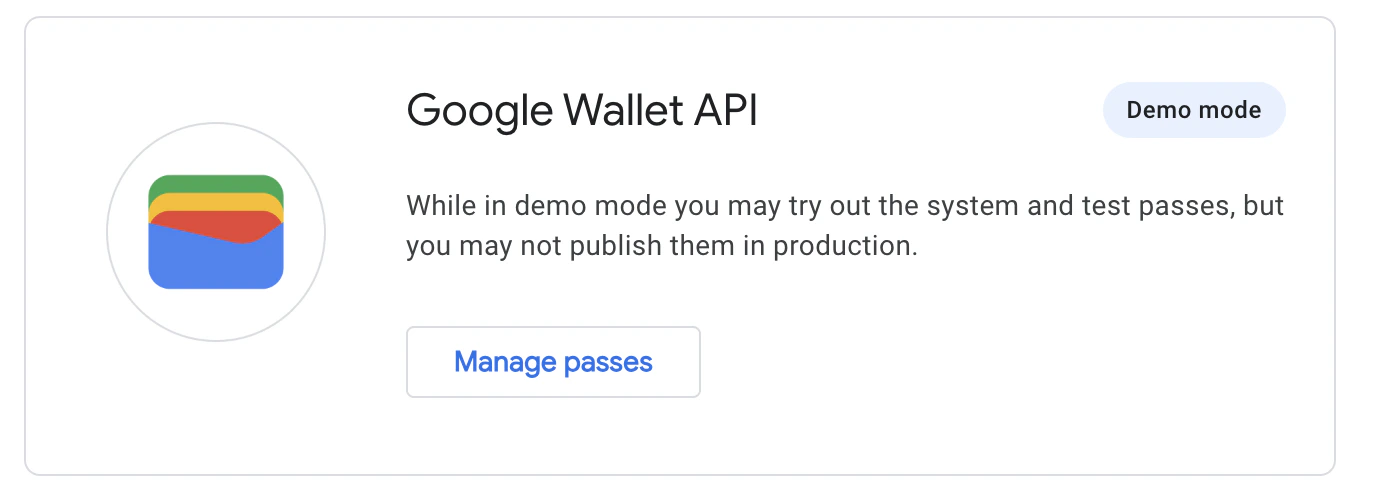
- Select Create a Pass to Enable Demo Mode:
- Within the Google Wallet API section, locate the option labeled Create a Pass.
- Click on this option to enable Demo mode. This mode allows you to simulate and test pass creation and interactions without making real transactions.
- Download the Google Wallet App from the Play Store.
- Navigate through the payment flow to test the integration.
Implementation details
Yuno supports both Google Pay API authorization methods:PAN_ONLY: Card credentials stored in the user’s Google account. When used, the selected provider handles authentication as configured.CRYPTOGRAM_3DS: Device-based card credentials with built-in authentication. These credentials include cryptographic authentication.
PAN_ONLY and CRYPTOGRAM_3DS in your allowedAuthMethods array for maximum payment success rates.
- Provider-specific configuration: The handling of Google Pay authorization methods may vary depending on your selected provider. Consult your provider’s documentation for specific requirements and capabilities regarding
PAN_ONLYandCRYPTOGRAM_3DSprocessing.