Google Pay

Google Pay™, a cutting-edge digital wallet and online payment system, revolutionizes how users make payments by securely storing credit card information. Unlike conventional payment methods, Google Pay ensures enhanced security and privacy throughout the payment process.

When utilizing Google Pay™, your confidential credit or debit card details are never directly shared with the merchant. Instead, a unique token is generated, serving as a representation of your payment information. This token is utilized for processing the payment, providing an extra layer of protection, and preventing unauthorized access to your personal data.

Considering the distinct mechanism of Google Pay™, it is essential to grasp its working principles before seamlessly integrating it with Yuno.
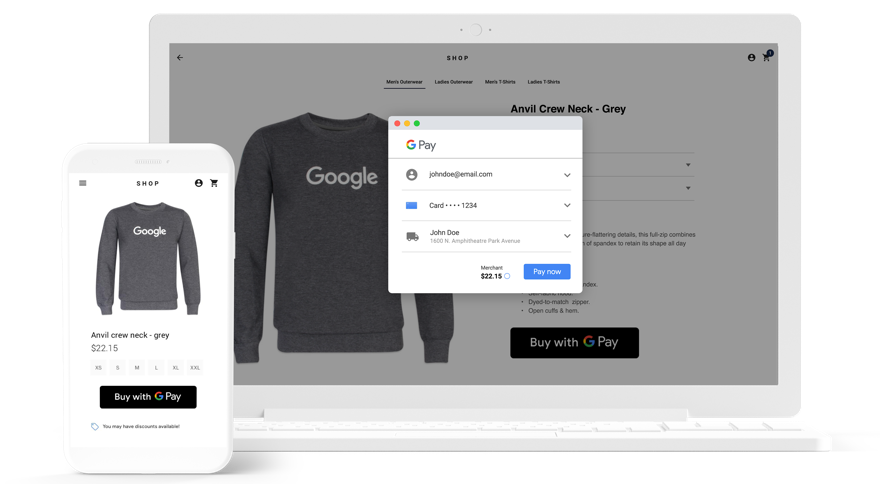
Familiarizing yourself with how Google Pay™ operates and understanding the process of creating tokens is vital to ensure a successful and secure integration with the Yuno platform. By harnessing the power of Google Pay and its advanced security features, you can elevate your payment experience and provide your customers with a safe and efficient payment solution.

Requirements

Before start looking how to integrate Google Pay into you system, it is essential to be sure that this payment method is available on your country. Use the Google Pay suport page to check if it is supports the countries where you operate.

After, it is time to look which processors are available. Check the participating processors on Google's page.

Integration

You need to cover some steps to integrate Google Pay into your system using Yuno.

1- Within the Yuno dashboard, select the Connections tab. Find Google Pay and click Connect. Fulfill the side panel fields with your credentials. Choose a name for the connection and request the Yuno TAM to provide you with a merchant ID, which you should enter in the Merchant ID field

2- Create a route in Yuno's dashboard using the processor you want to use for payments through Google Pay. Access the Configure dynamic routing guide page for further information on creating routes.

3- Integrate Yuno's SDK into your app to ensure a smooth connection between your application and Yuno's platform. Example.

  • Authorization methods available: We support all authorization methods available such as purchase, authorization and capture, but is going to depend on what each provider accepts for each payment.

4- Turn on Google pay as a payment method in your Yuno's Checkout builder so customer have access to it while making a payment.

Enable and test Google Pay with Yuno

After performing the integration on Yuno, you can enable Google Pay with Yuno and perform integration tests using the following steps:

  1. Create a Google Wallet Test Account:
    1. Visit the Google Wallet Test Account Sign-In page.
    2. If you don't have a Google account, you'll need to create one to proceed.
    3. Once signed in, you'll be redirected to the Google Wallet business console.
  2. Access the Google Wallet API Section:
    1. In the Google Wallet business console, navigate to the section related to API management or integration. It is found in the developer or integration settings.
  3. Select Create a Pass to Enable Demo Mode:
    1. Within the Google Wallet API section, locate the option labeled Create a Pass.
    2. Click on this option to enable Demo mode. This mode allows you to simulate and test pass creation and interactions without making real transactions.
  1. Download the Google Wallet App from the Play Store.
  2. Navigate through the payment flow to test the integration.

Following these steps you can ensure that Google Pay is integrated into your app and functioning perfectly.

Go live

After you have completed all the necessary steps of the integration process in the testing environment, please make sure you have requested Google Production Access and you have contacted your Technical Account Manager so that we can help check everything has been correctly configured and confirm you are ready to go live.

Additional information