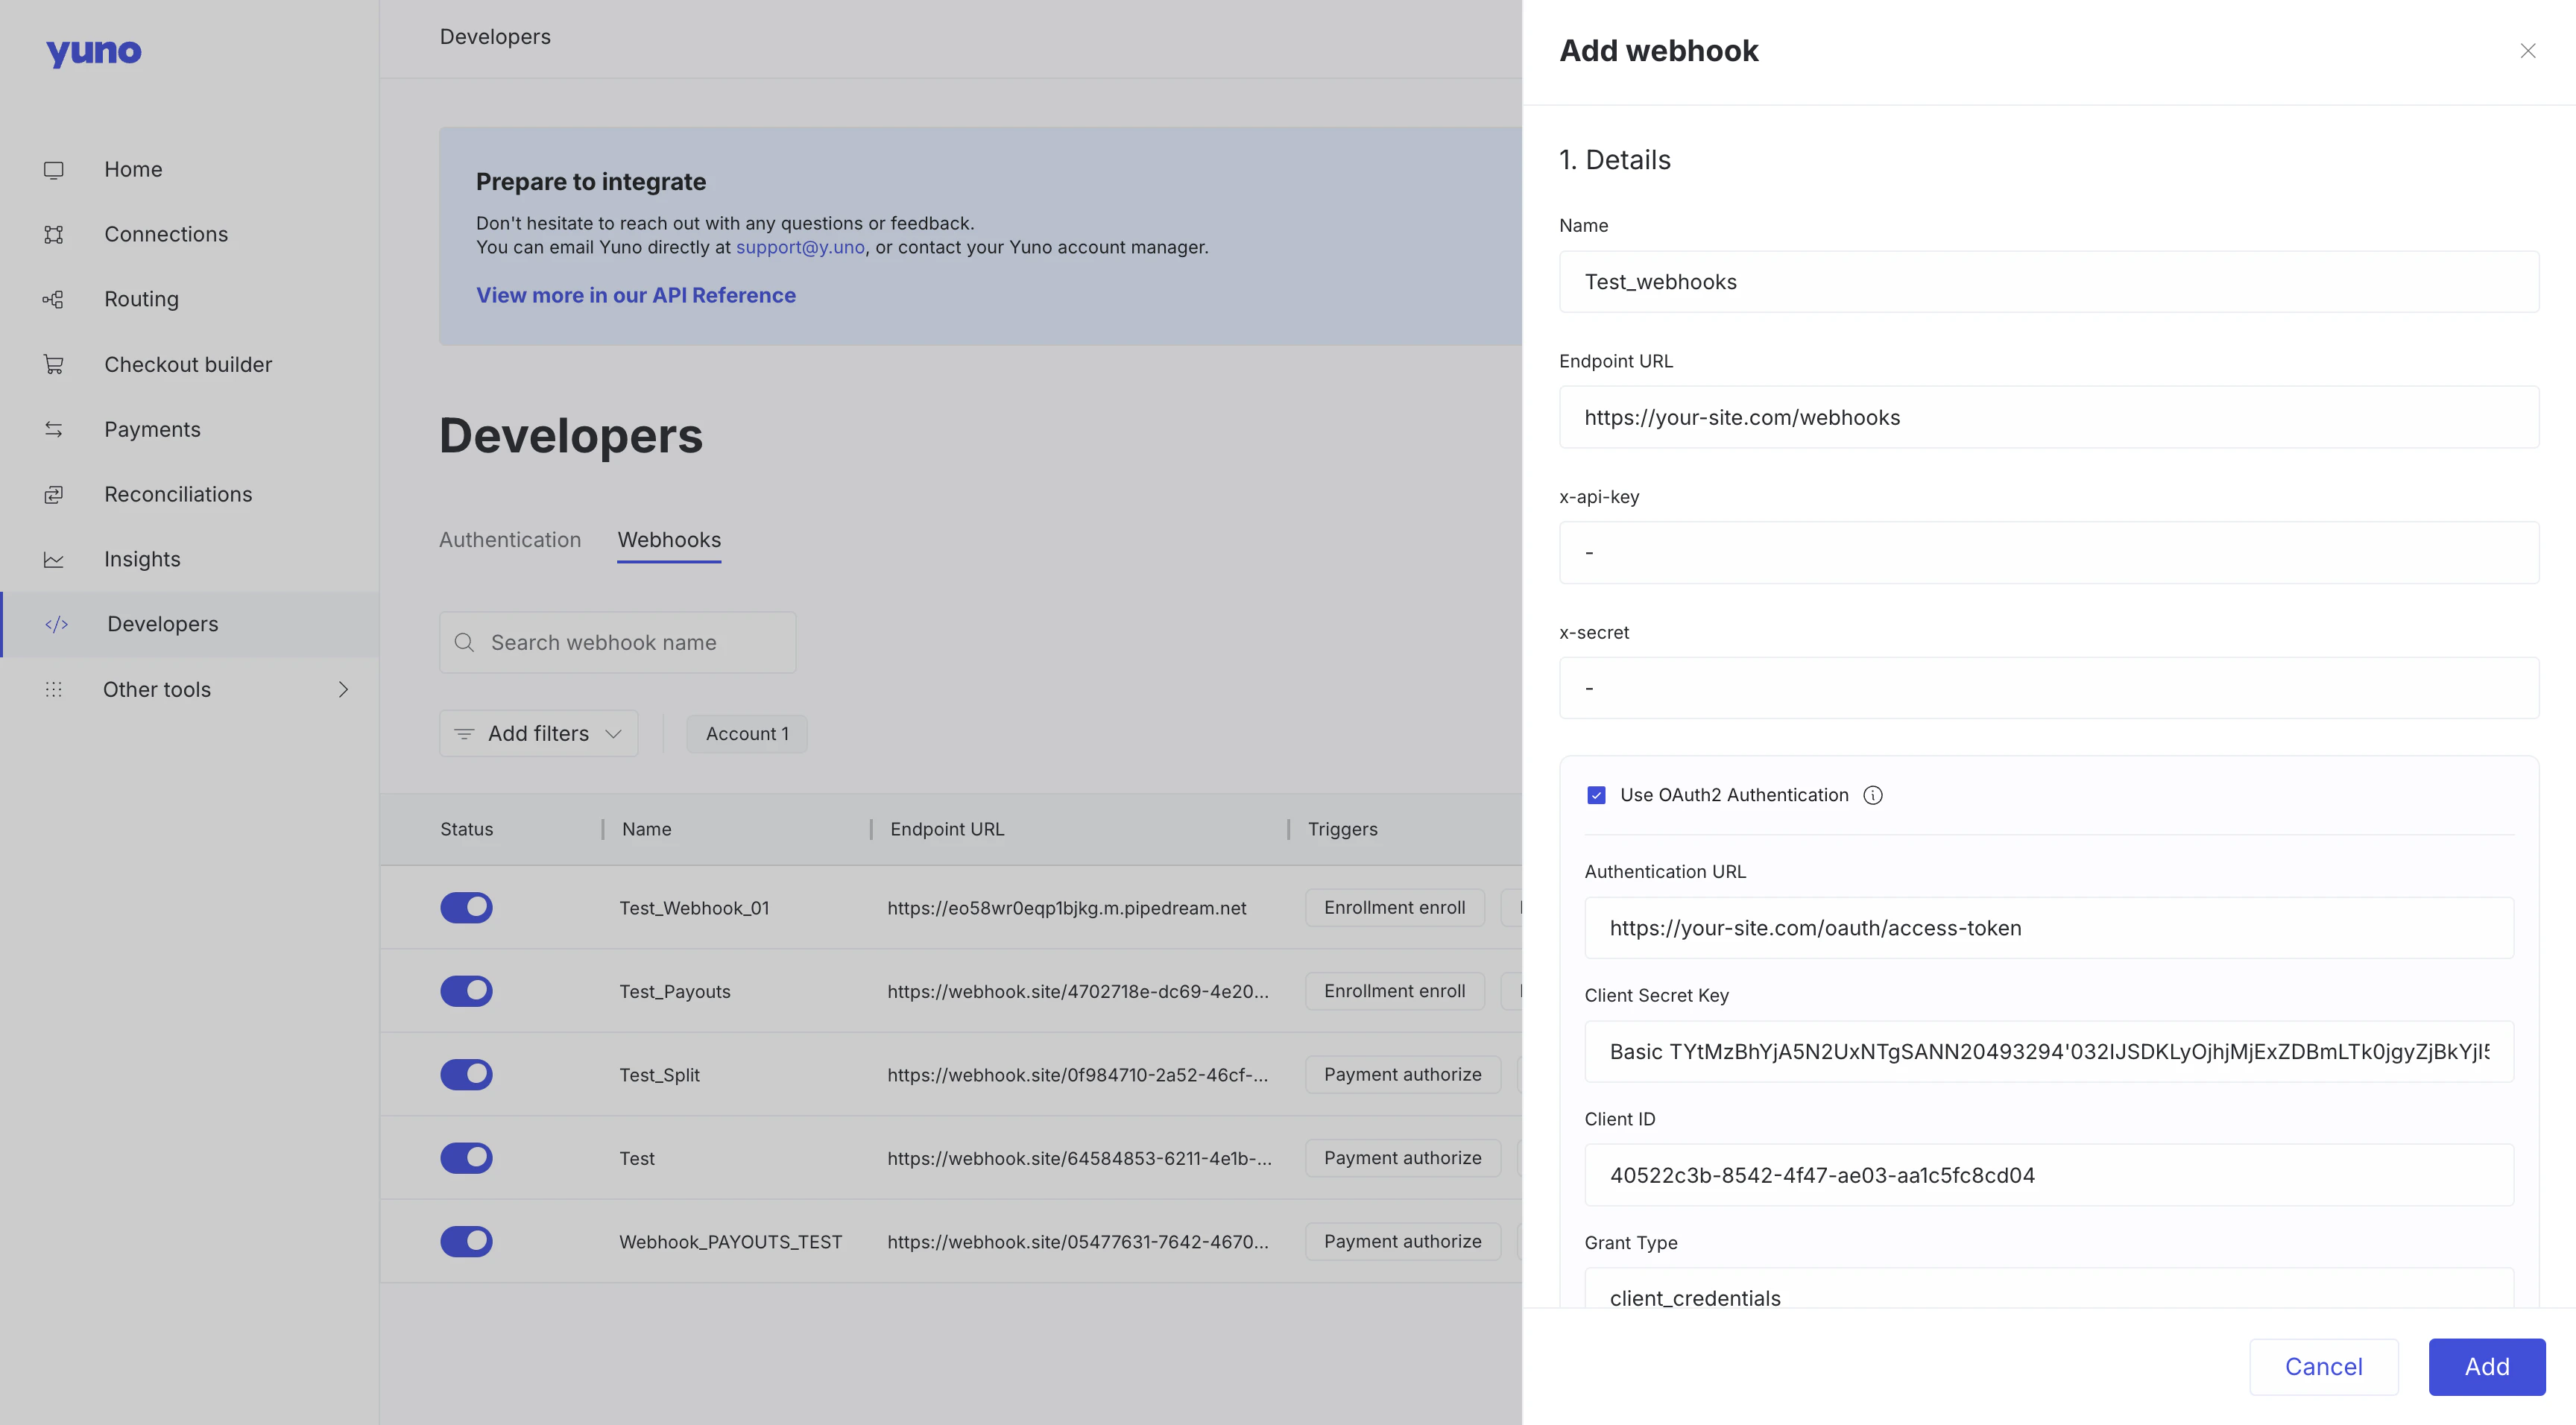
url, at least one trigger, and optionally how Yuno authenticates to your endpoint. See Events and Triggers for the full catalog of events you can select.
- Dashboard
- API
- Navigate to the Developers tab
- Click Webhooks
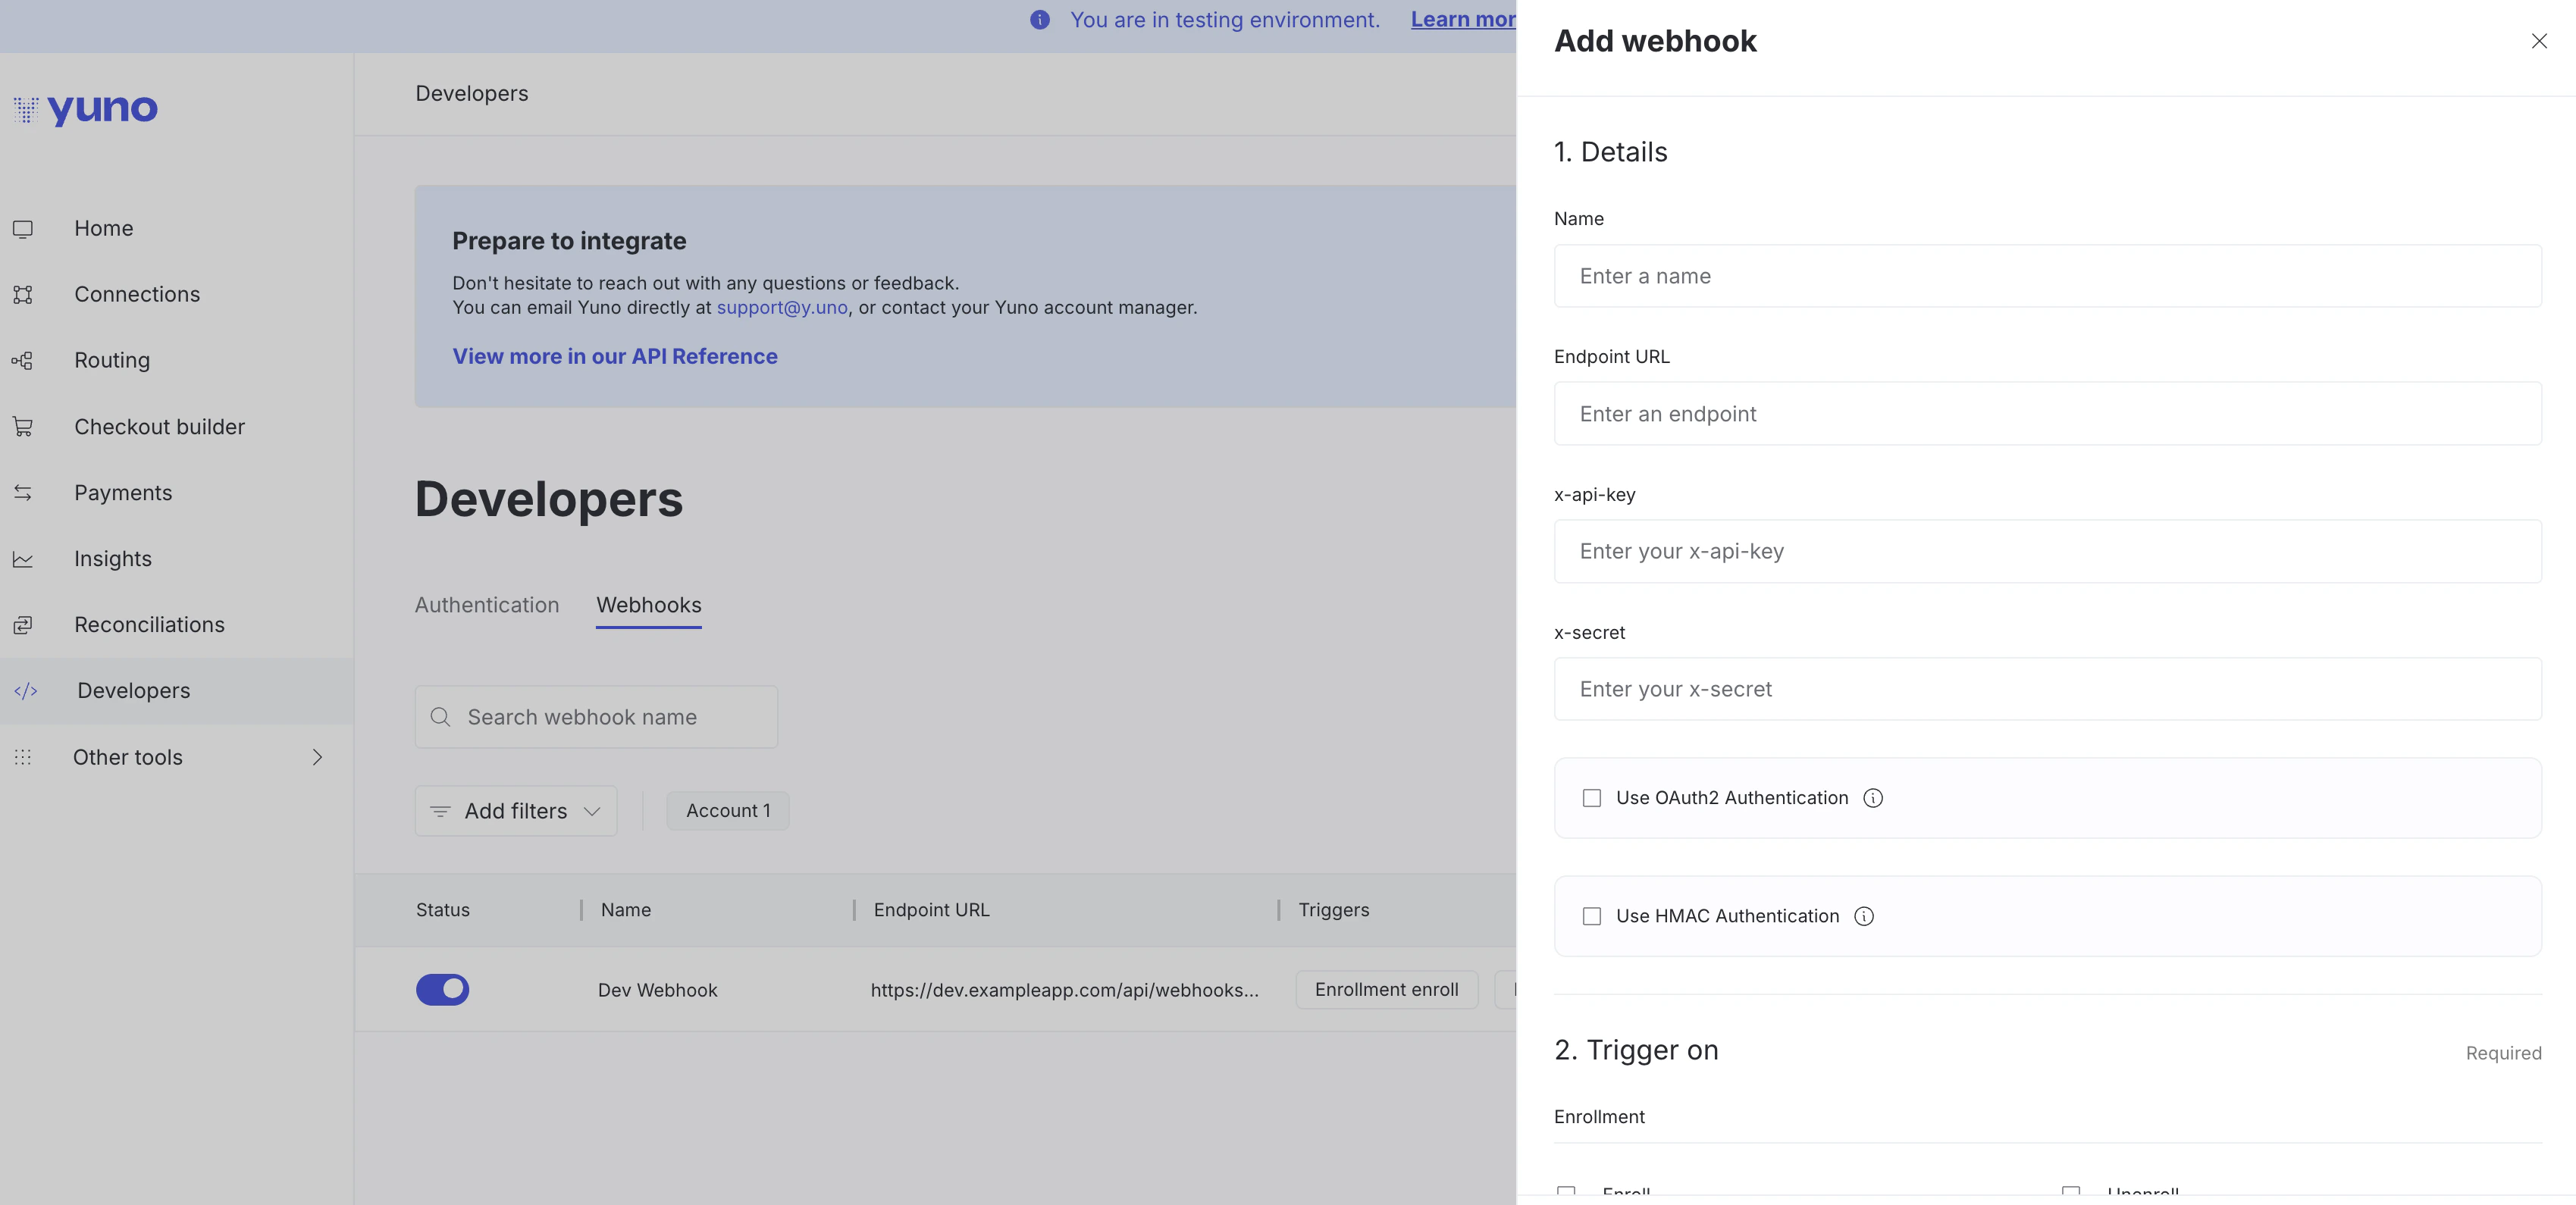
- Click Add webhook
- Name: Identify your webhook
- Endpoint URL: Your server URL to receive notifications
- x-api-key: Your API key, sent in notification headers (
api_keyvia the API) - x-secret: Your secret, sent in notification headers (
secretvia the API) - Use OAuth2 Authentication: Optional checkbox for OAuth2
- Use HMAC Authentication: Optional checkbox for HMAC signature verification
- Trigger on: Select which events will trigger this webhook (enrollment, payment, subscription, etc.)
HMAC authentication
Check Use HMAC Authentication in the dashboard, or sethmac_client_secret via the API. Either way, Yuno uses that key to generate an HMAC-SHA256 signature and sends it in the x-hmac-signature header with each delivery, so you can verify a webhook genuinely came from Yuno and wasn’t tampered with.
See the Verify Webhook Signatures (HMAC) guide for implementation details.
OAuth2
Check Use OAuth2 Authentication in the dashboard, or set the matching fields via the API, so Yuno can obtain the token it sends with each delivery:The API also exposes
oauth2_scope, oauth2_authorization_name (the header Yuno sends the token in, defaults to Authorization), and oauth2_include_client_id. These don’t have a dashboard equivalent yet. See OAuth2 for the full field reference.