Manage Members
Yuno provides an easy way to create members and manage your team to improve your security. On the Yuno Merchant Dashboard, you can add members and control roles, giving the right amount of access to each one. The role assigned to each user defines their permissions inside the Yuno system.
Manage your team
To manage your team, you need to access the Yuno Merchant Dashboard.
After logging into your account, click over your user and select Team to access the page Create and manage your team.
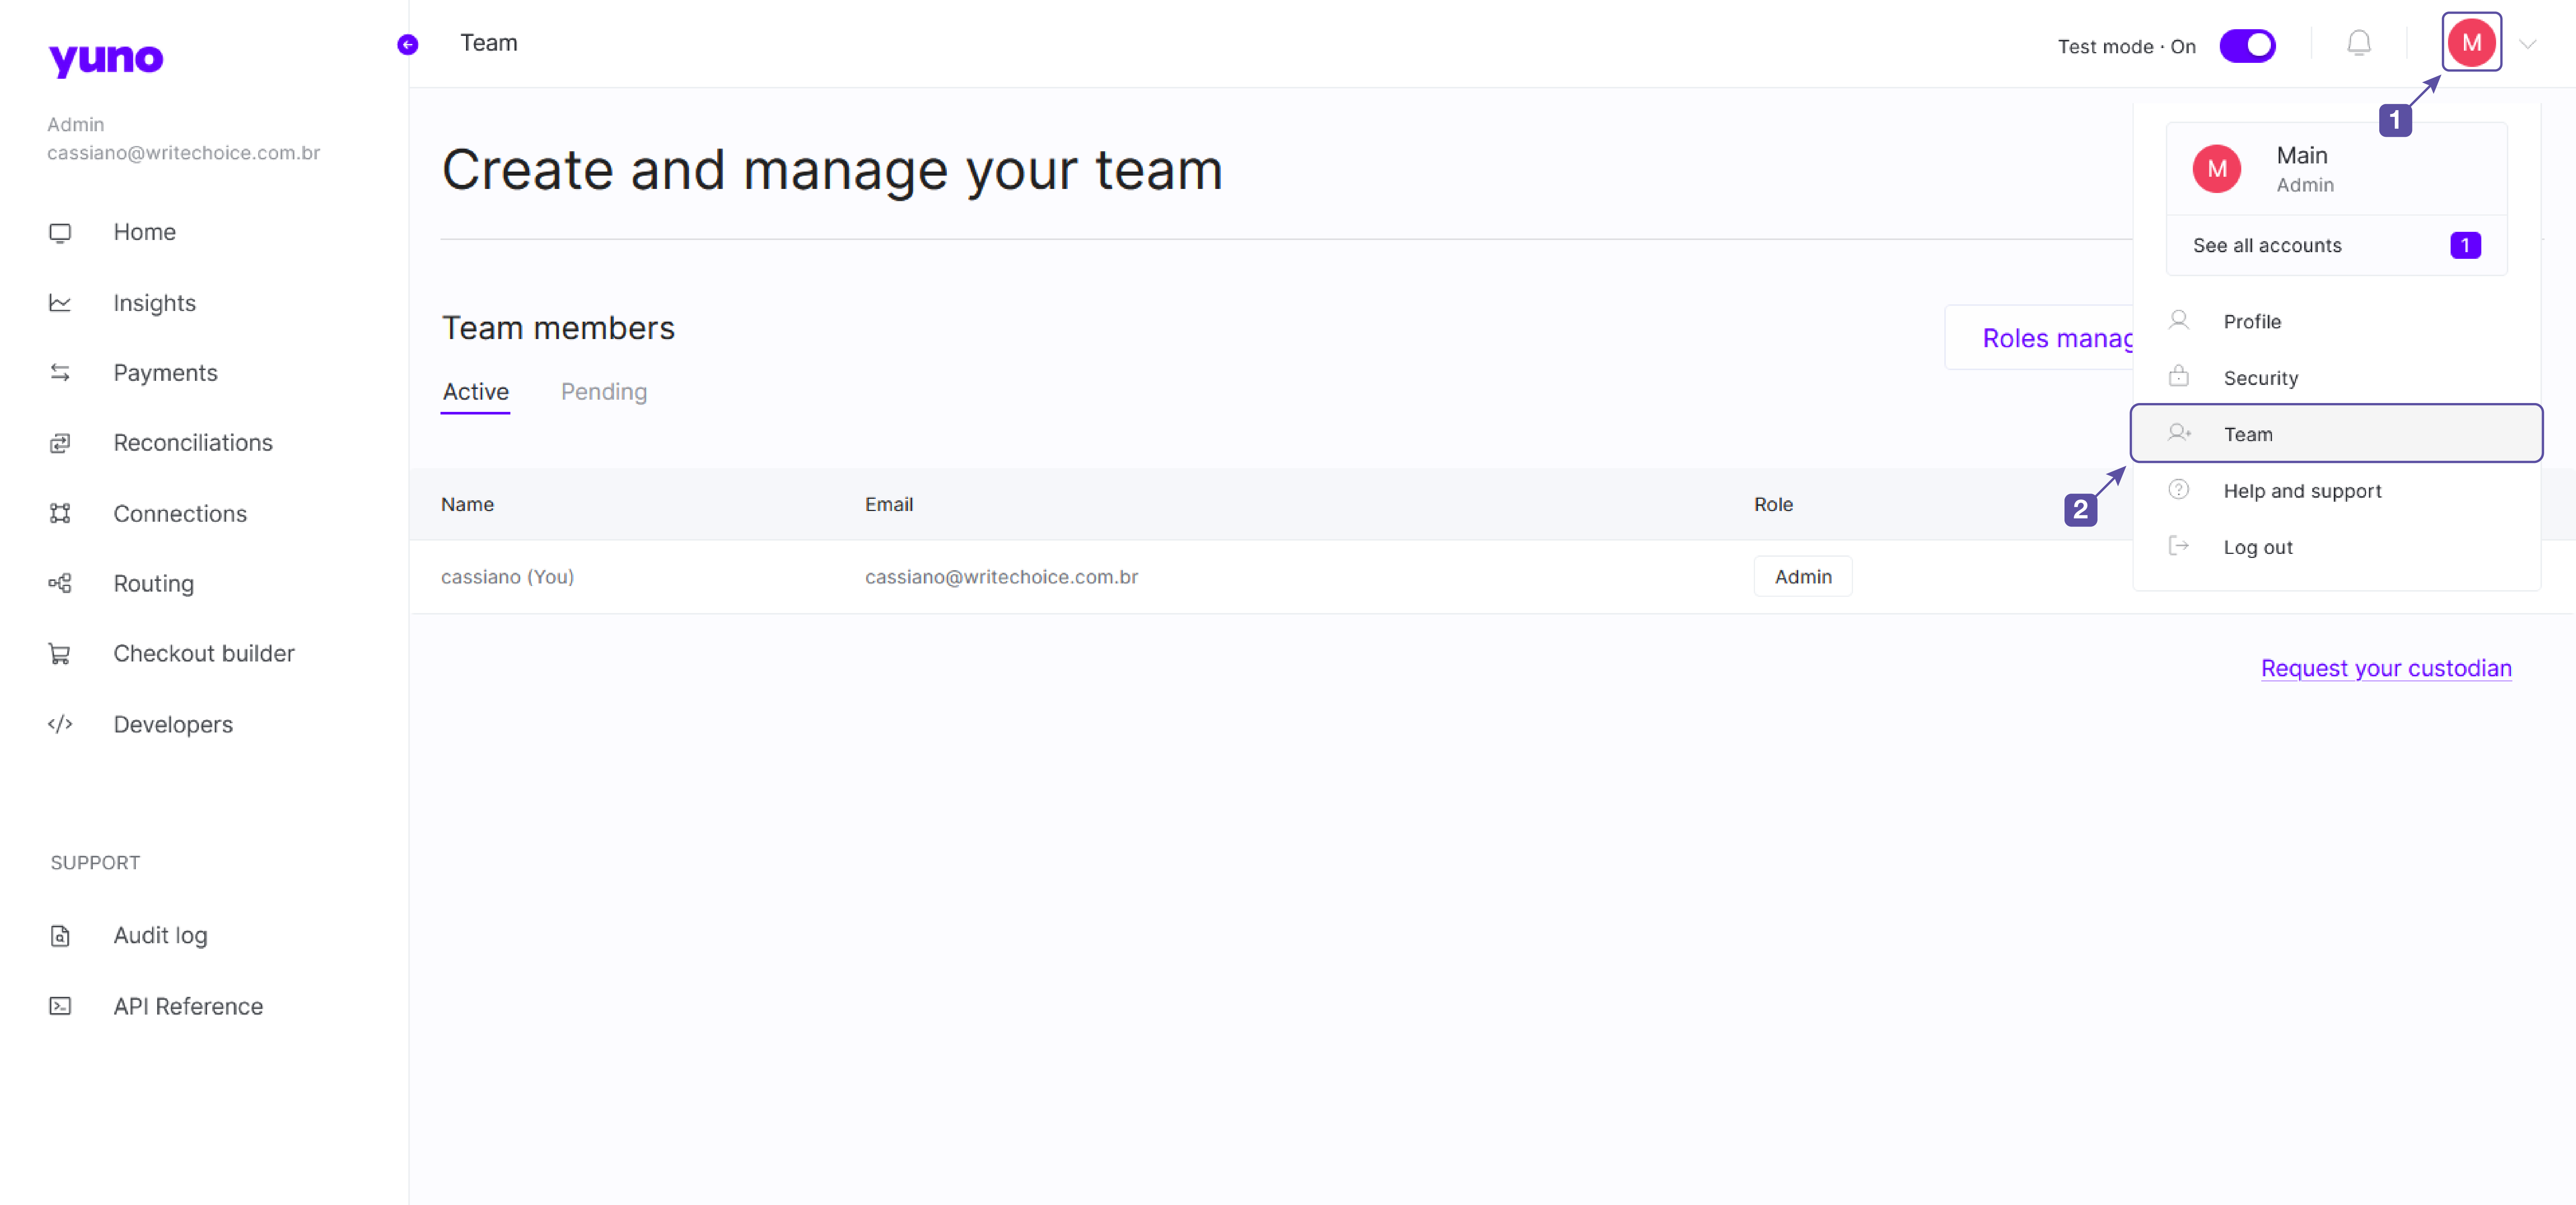
Here you can:
- Manage all the active members using the Active panel.
- Invite new members using the Invite member button.
- Check whom you have invited with the Pending panel.
When inviting a new member, you need to provide their email and define their role. You can update a member's information, such as the role or email, or remove them from the organization at the Active panel.
Roles management
Yuno provides, by default, four roles to attribute to new members. Each one has different access permissions. Below you will find a table comparing the default roles' permissions:
| Default Roles | |||||
|---|---|---|---|---|---|
| Permissions | Admin | Agent | Developer | Read only | |
|
The team member will be able to view the payments list and transaction details. |
|||||
|
The team member will be able to export payments and transaction reports. |
|||||
|
The team member will be able to make full and partial refunds, cancellations and manual captures. |
|||||
|
The team member will be able to view payment links. |
|||||
|
The team member will be able to create, edit, share and delete payment links. |
|||||
|
The team member will be able to view our payments stack offer. |
|||||
|
The team member will be able to add, edit, archive, reactivate and delete a connection. |
|||||
|
The team member will be able to view how the checkout is setup. |
|||||
|
The team member will be able tu build and publish the checkout at any time. |
|||||
|
The team member will be able to view how a payment is processed. |
|||||
|
The team member will be able to create, edit and publish a payment processing route. |
|||||
|
The team member will be able to view the insights and payment performance to make data-informed decisions. |
|||||
|
The team member will be able to view settlement reports. |
|||||
|
The team member will be able to export settlement reports. |
|||||
|
The team member will be able to view the account keys. |
|||||
|
The team member will be able to add, edit and delete a webhook. |
|||||
|
The team member will be able to create, edit and delete an account. |
|||||
|
The team member will be able to view the list of team members and roles. |
|||||
|
The team member will be able to send an invitation, edit and delete a member. |
|||||
|
The member will be able to create, edit and delete custom roles that can be assigned to team members. |
|||||
To check the available roles and their permissions in your account, after accessing the Create and manage your team, click on Roles management. In addition to the existing roles, you can create new ones to fulfill your needs by clicking Create role.
When creating new roles, you need to provide a name and a description. Afterward, you will select the permissions you want to grant to users assigned to this new role.
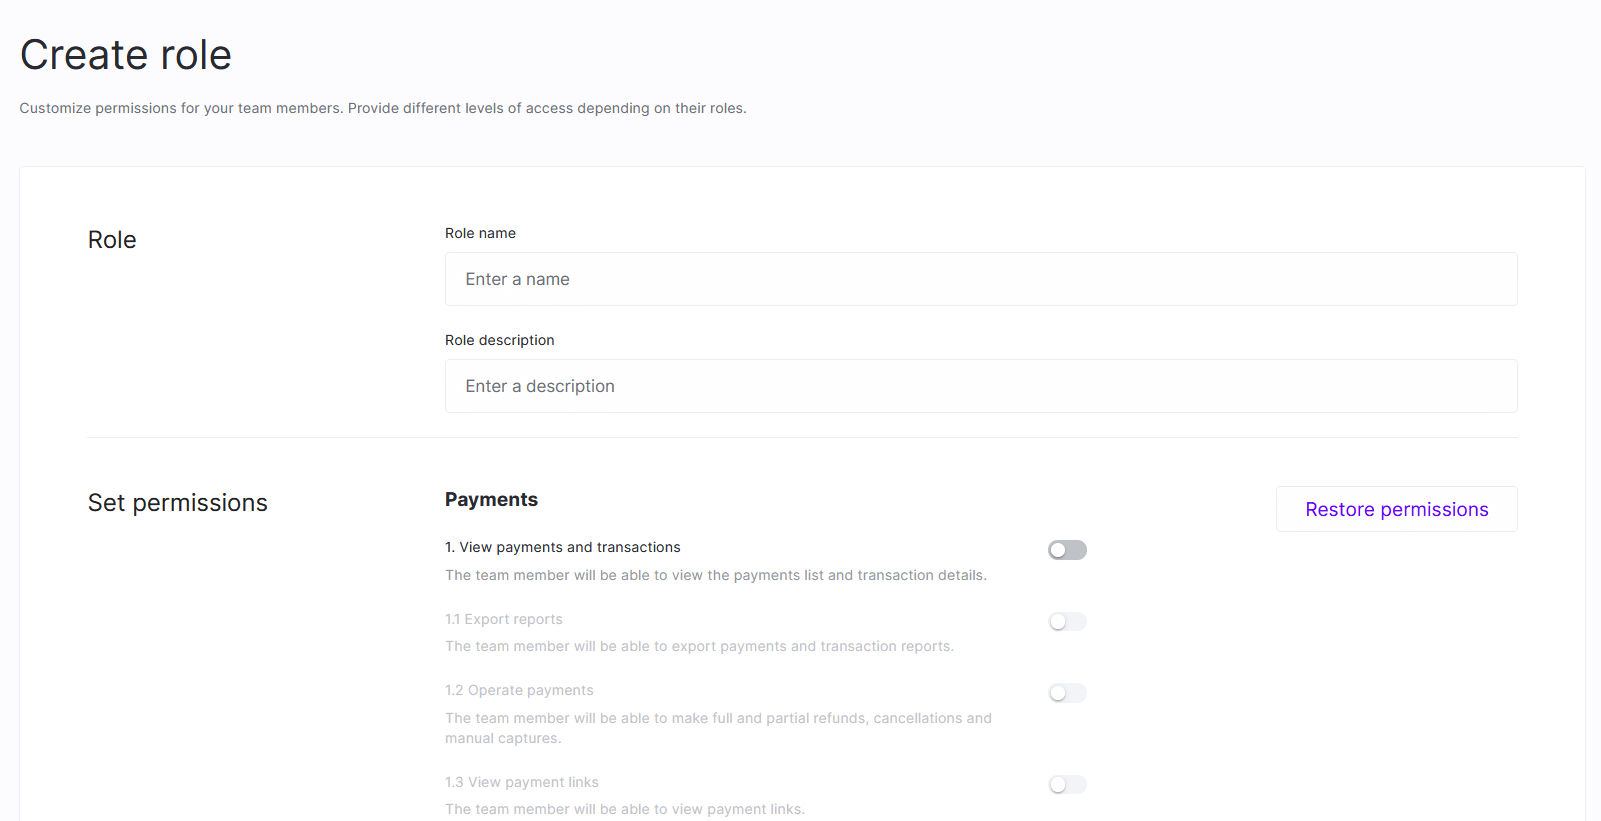
All roles created will be available when creating or updating members' information.
Updated over 1 year ago