Enable Live Mode
When you move your Yuno account from test mode (Sandbox) to live mode, you will put your payment system into production, making it possible to process real transactions.
Checklist
Before enabling live mode, it is essential you have accomplished some steps in the Yuno integration process. Consult this checklist to guarantee a smooth transition while getting ready to go live with your integration.
1. Dashboard
All payment, acquirers, and fraud prevention solutions you will use are connected.
You have created routes to define how each payment will be processed.
The checkout was configured using the checkout builder, and the desired payment methods are available.
2. Integration
The Yuno system was integrated with your system using the chosen method.
3. Tests
After the integration, you have successfully performed tests to:
Authorize and capture payments.
Cancel payments.
Refund payments.
Build and receive reports.
Handle all the possible error scenarios.
4. Notifications
Going live
Once you have access to your credentials, configured payment connections, and successfully tested all functionalities in sandbox environment, you are ready to enable live mode.
Enable live mode
- First, you must activate your account by clicking on Activate account in the Yuno Merchant Dashboard.
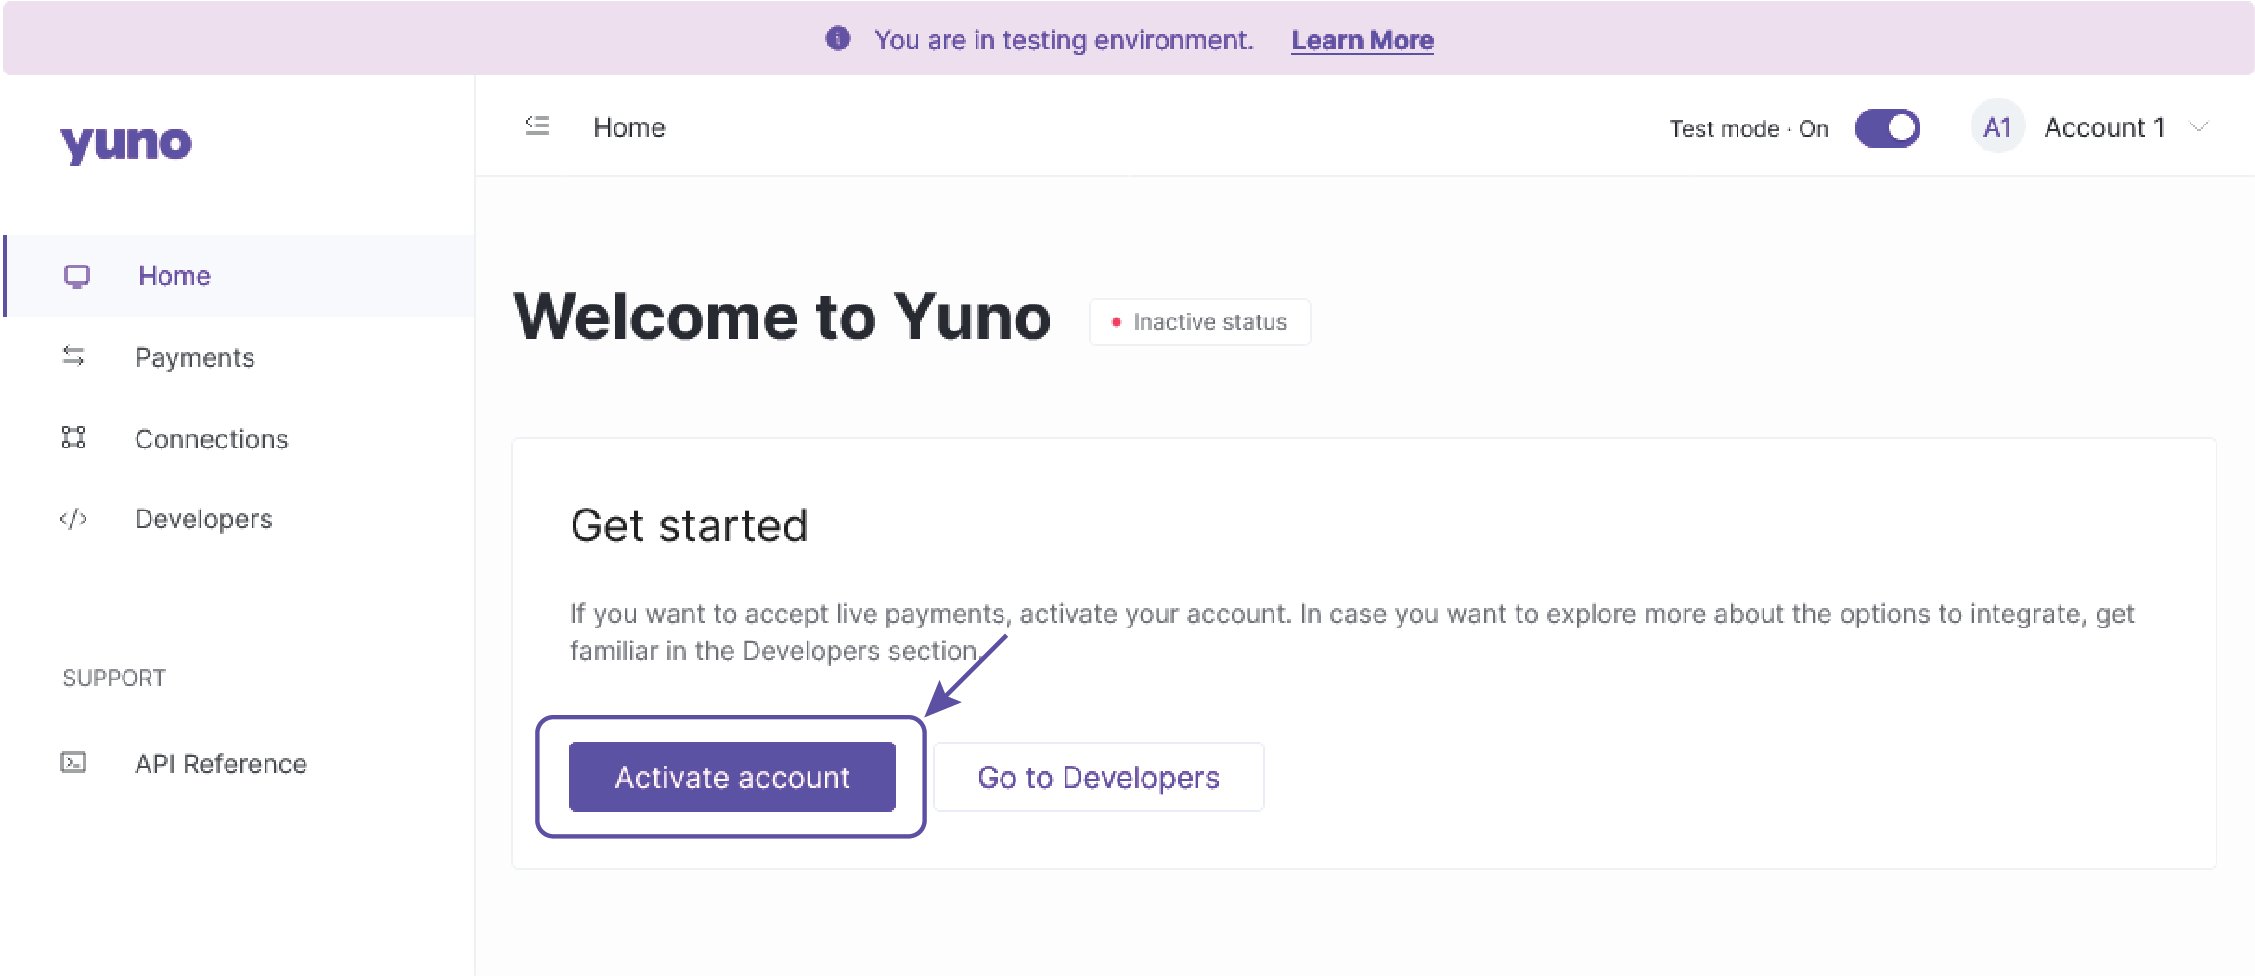
Note
The account activation process requires you to provide some profile information and may take 2-4 weeks. In case of any problems, please get in touch with Yuno support. Meanwhile, you can continue using the sandbox environment for testing.
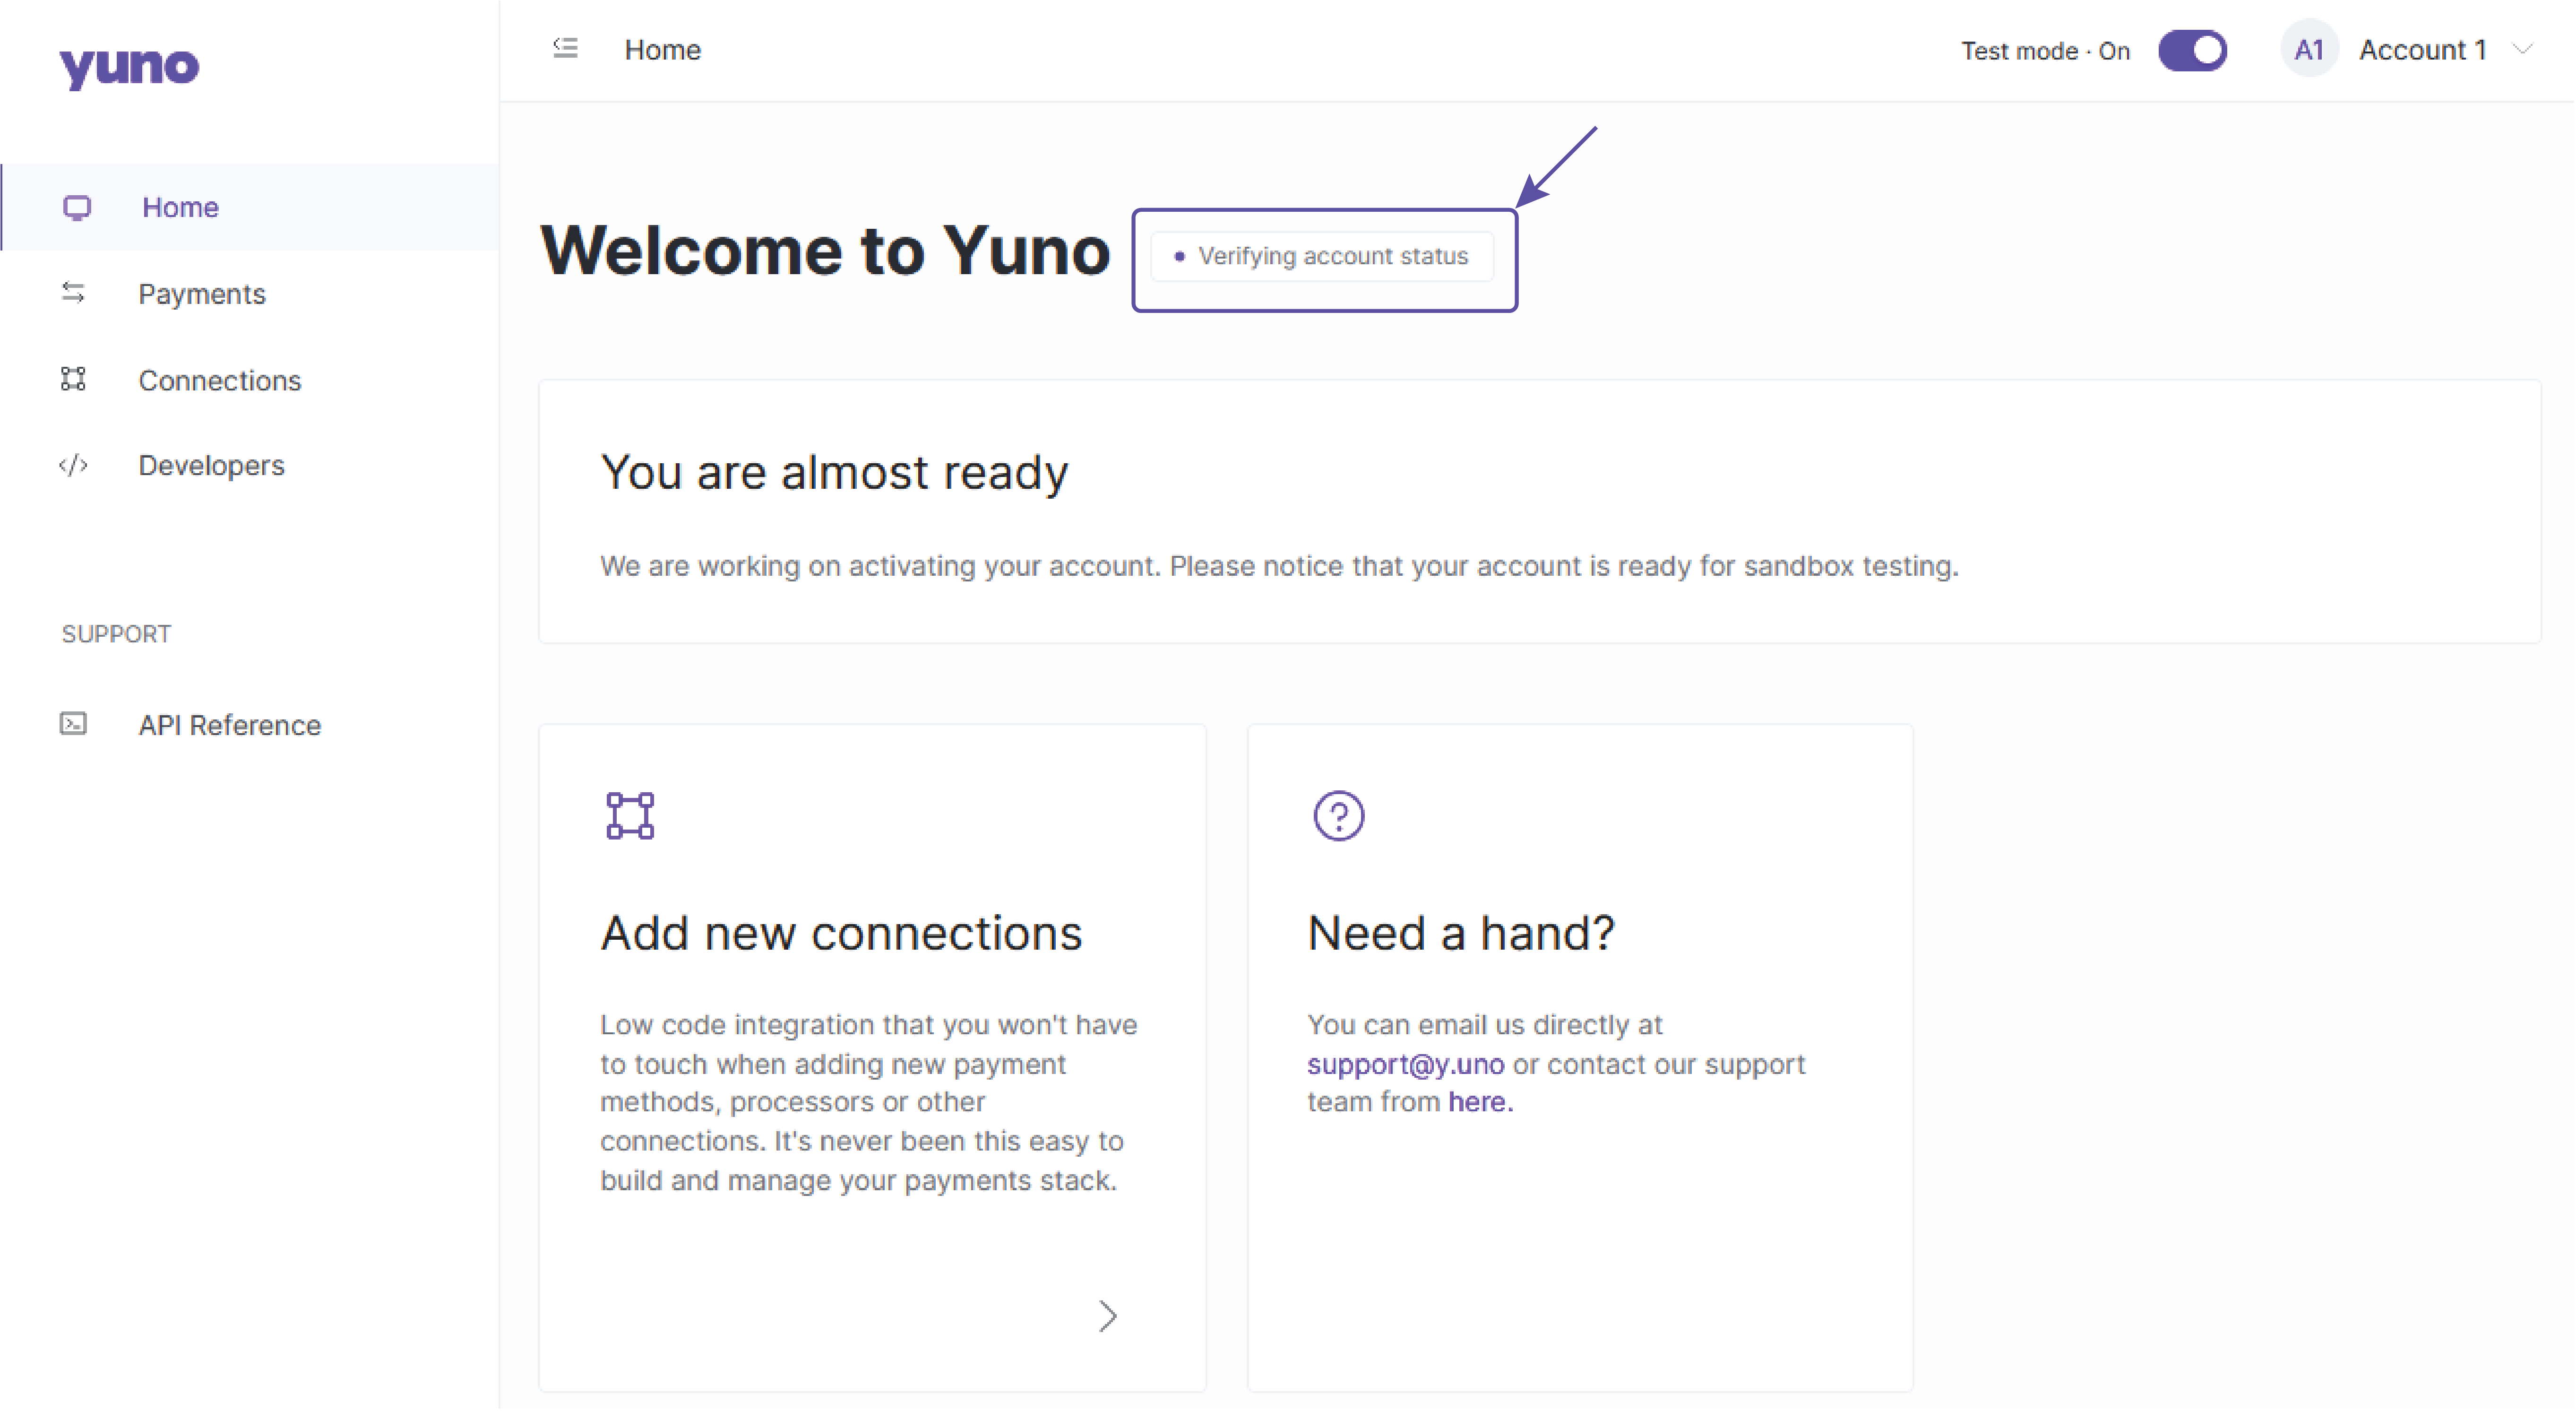
- After starting the activation process, your Dashboard status will change to Verifying account status.
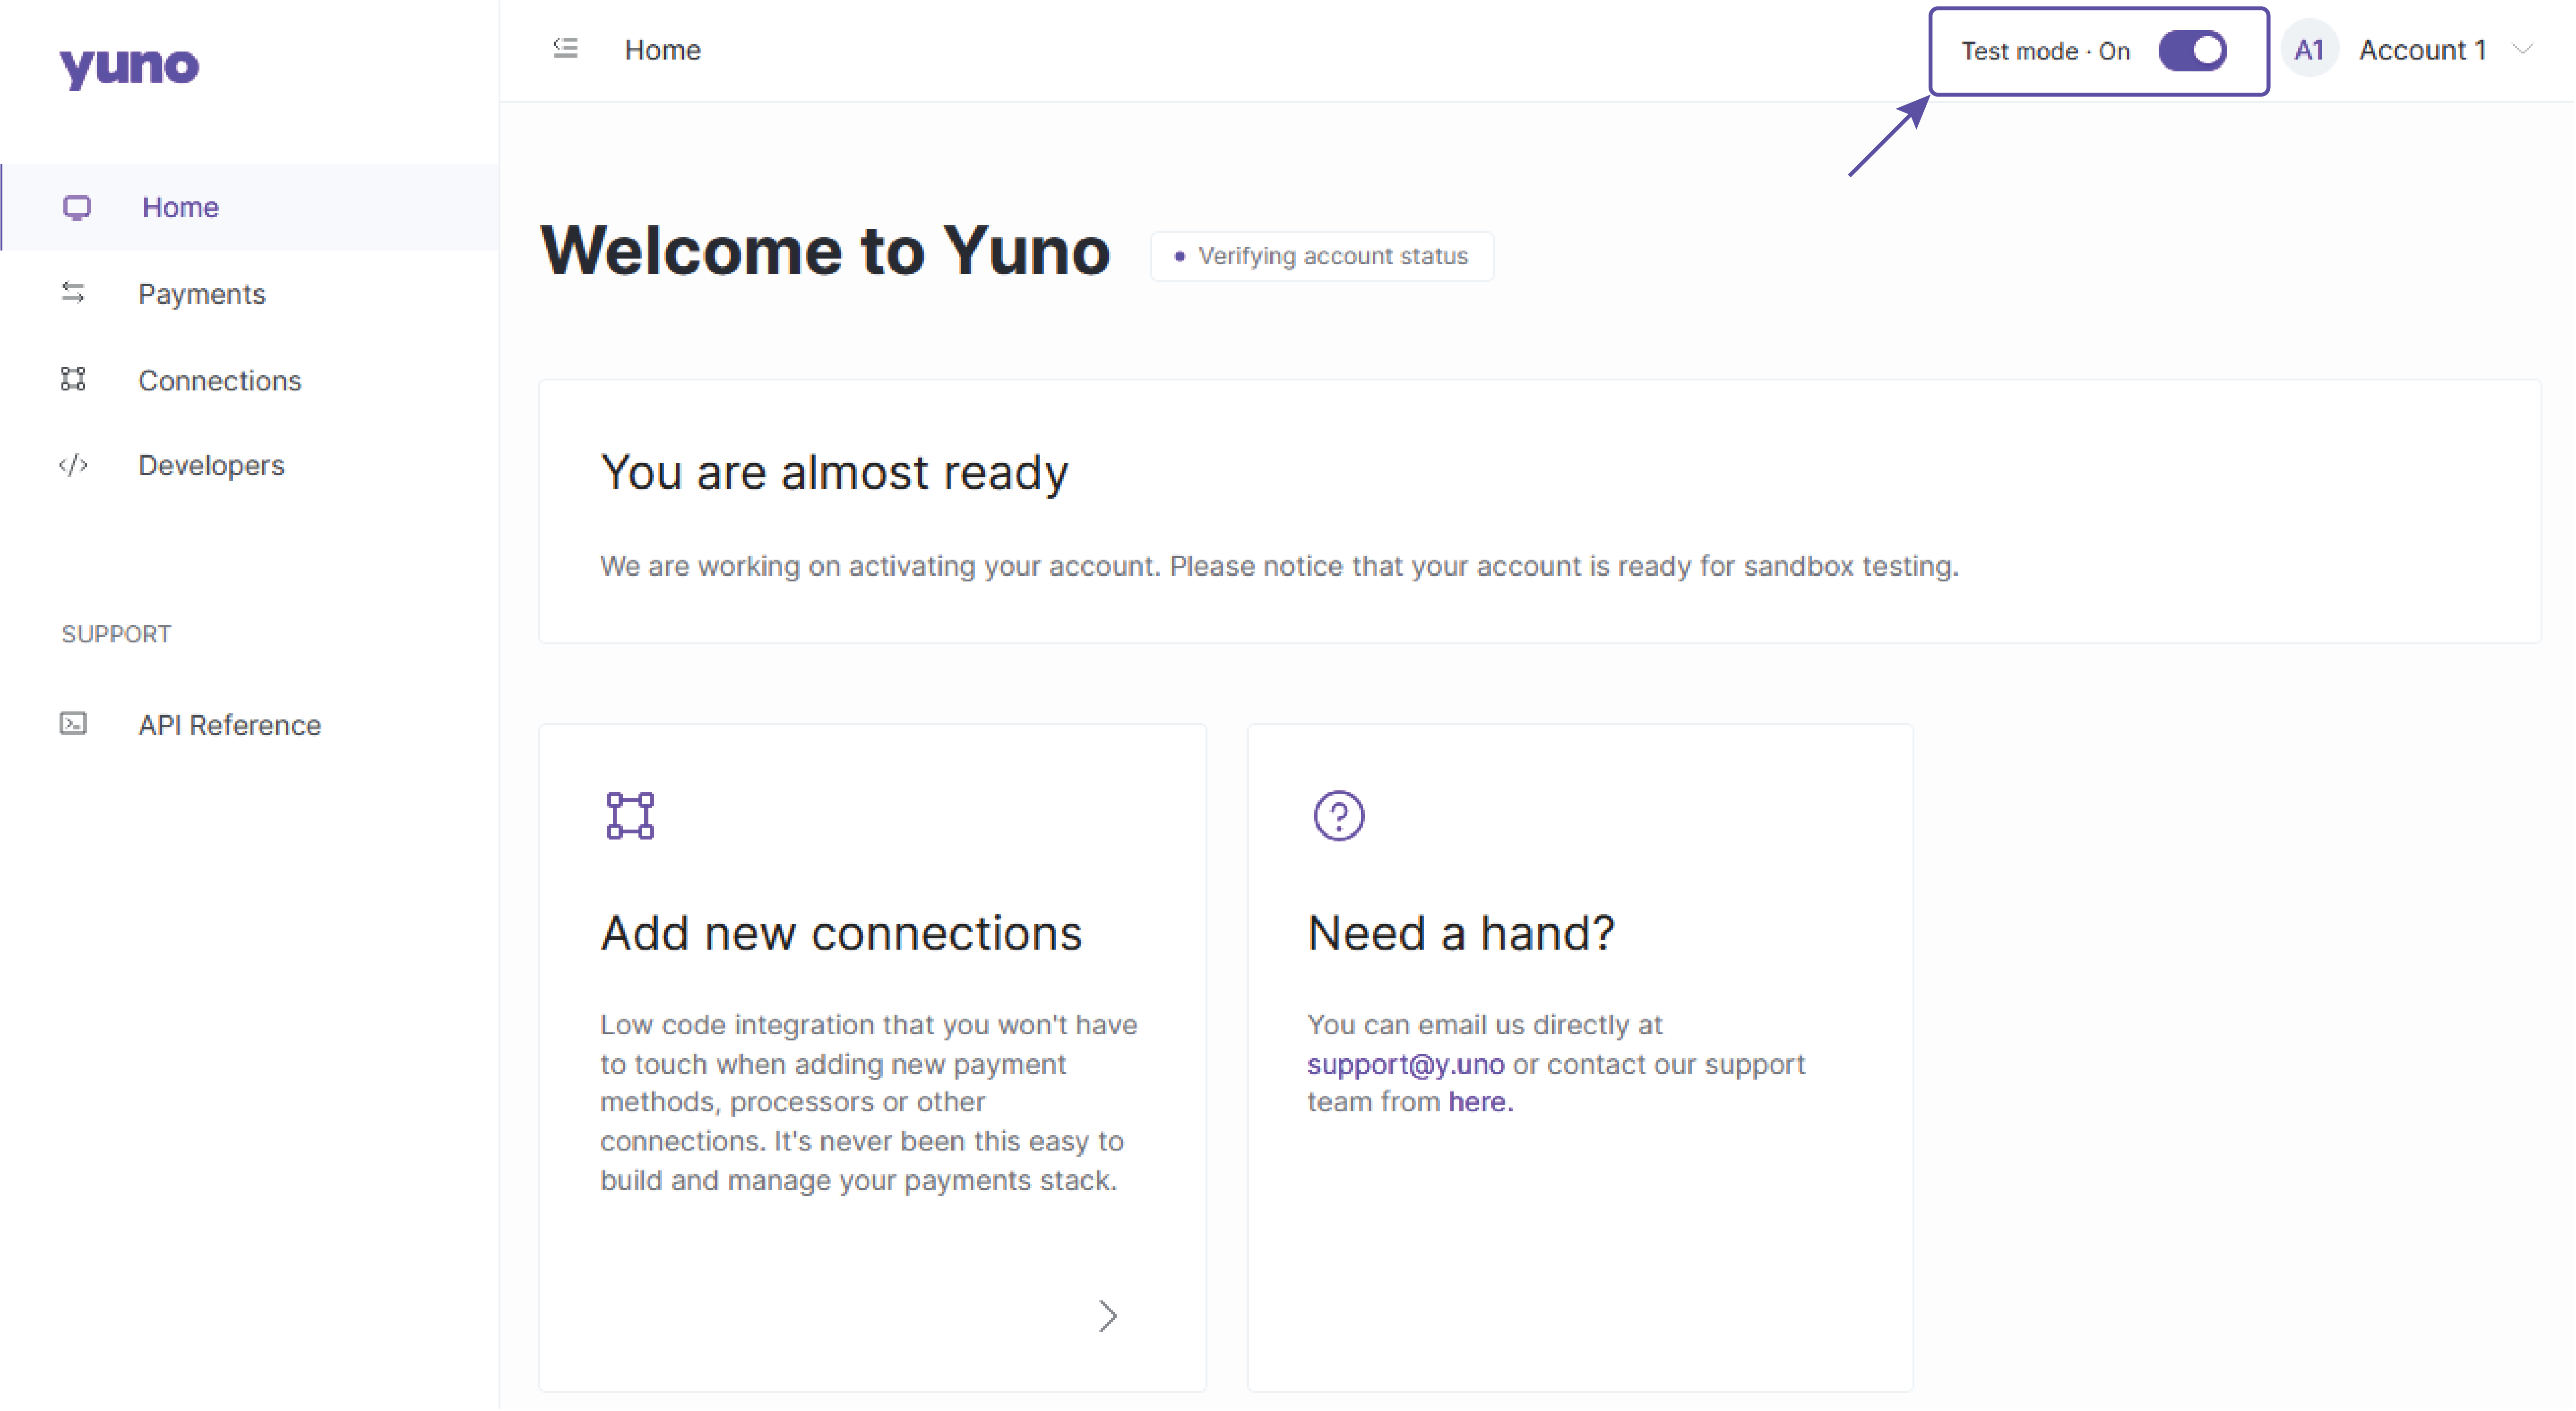
- Once activation is completed, Yuno will contact you, and you will have access to your Production environment credentials. Thus, you can switch to the Production environment through your Merchant Dashboard:
Updated almost 2 years ago