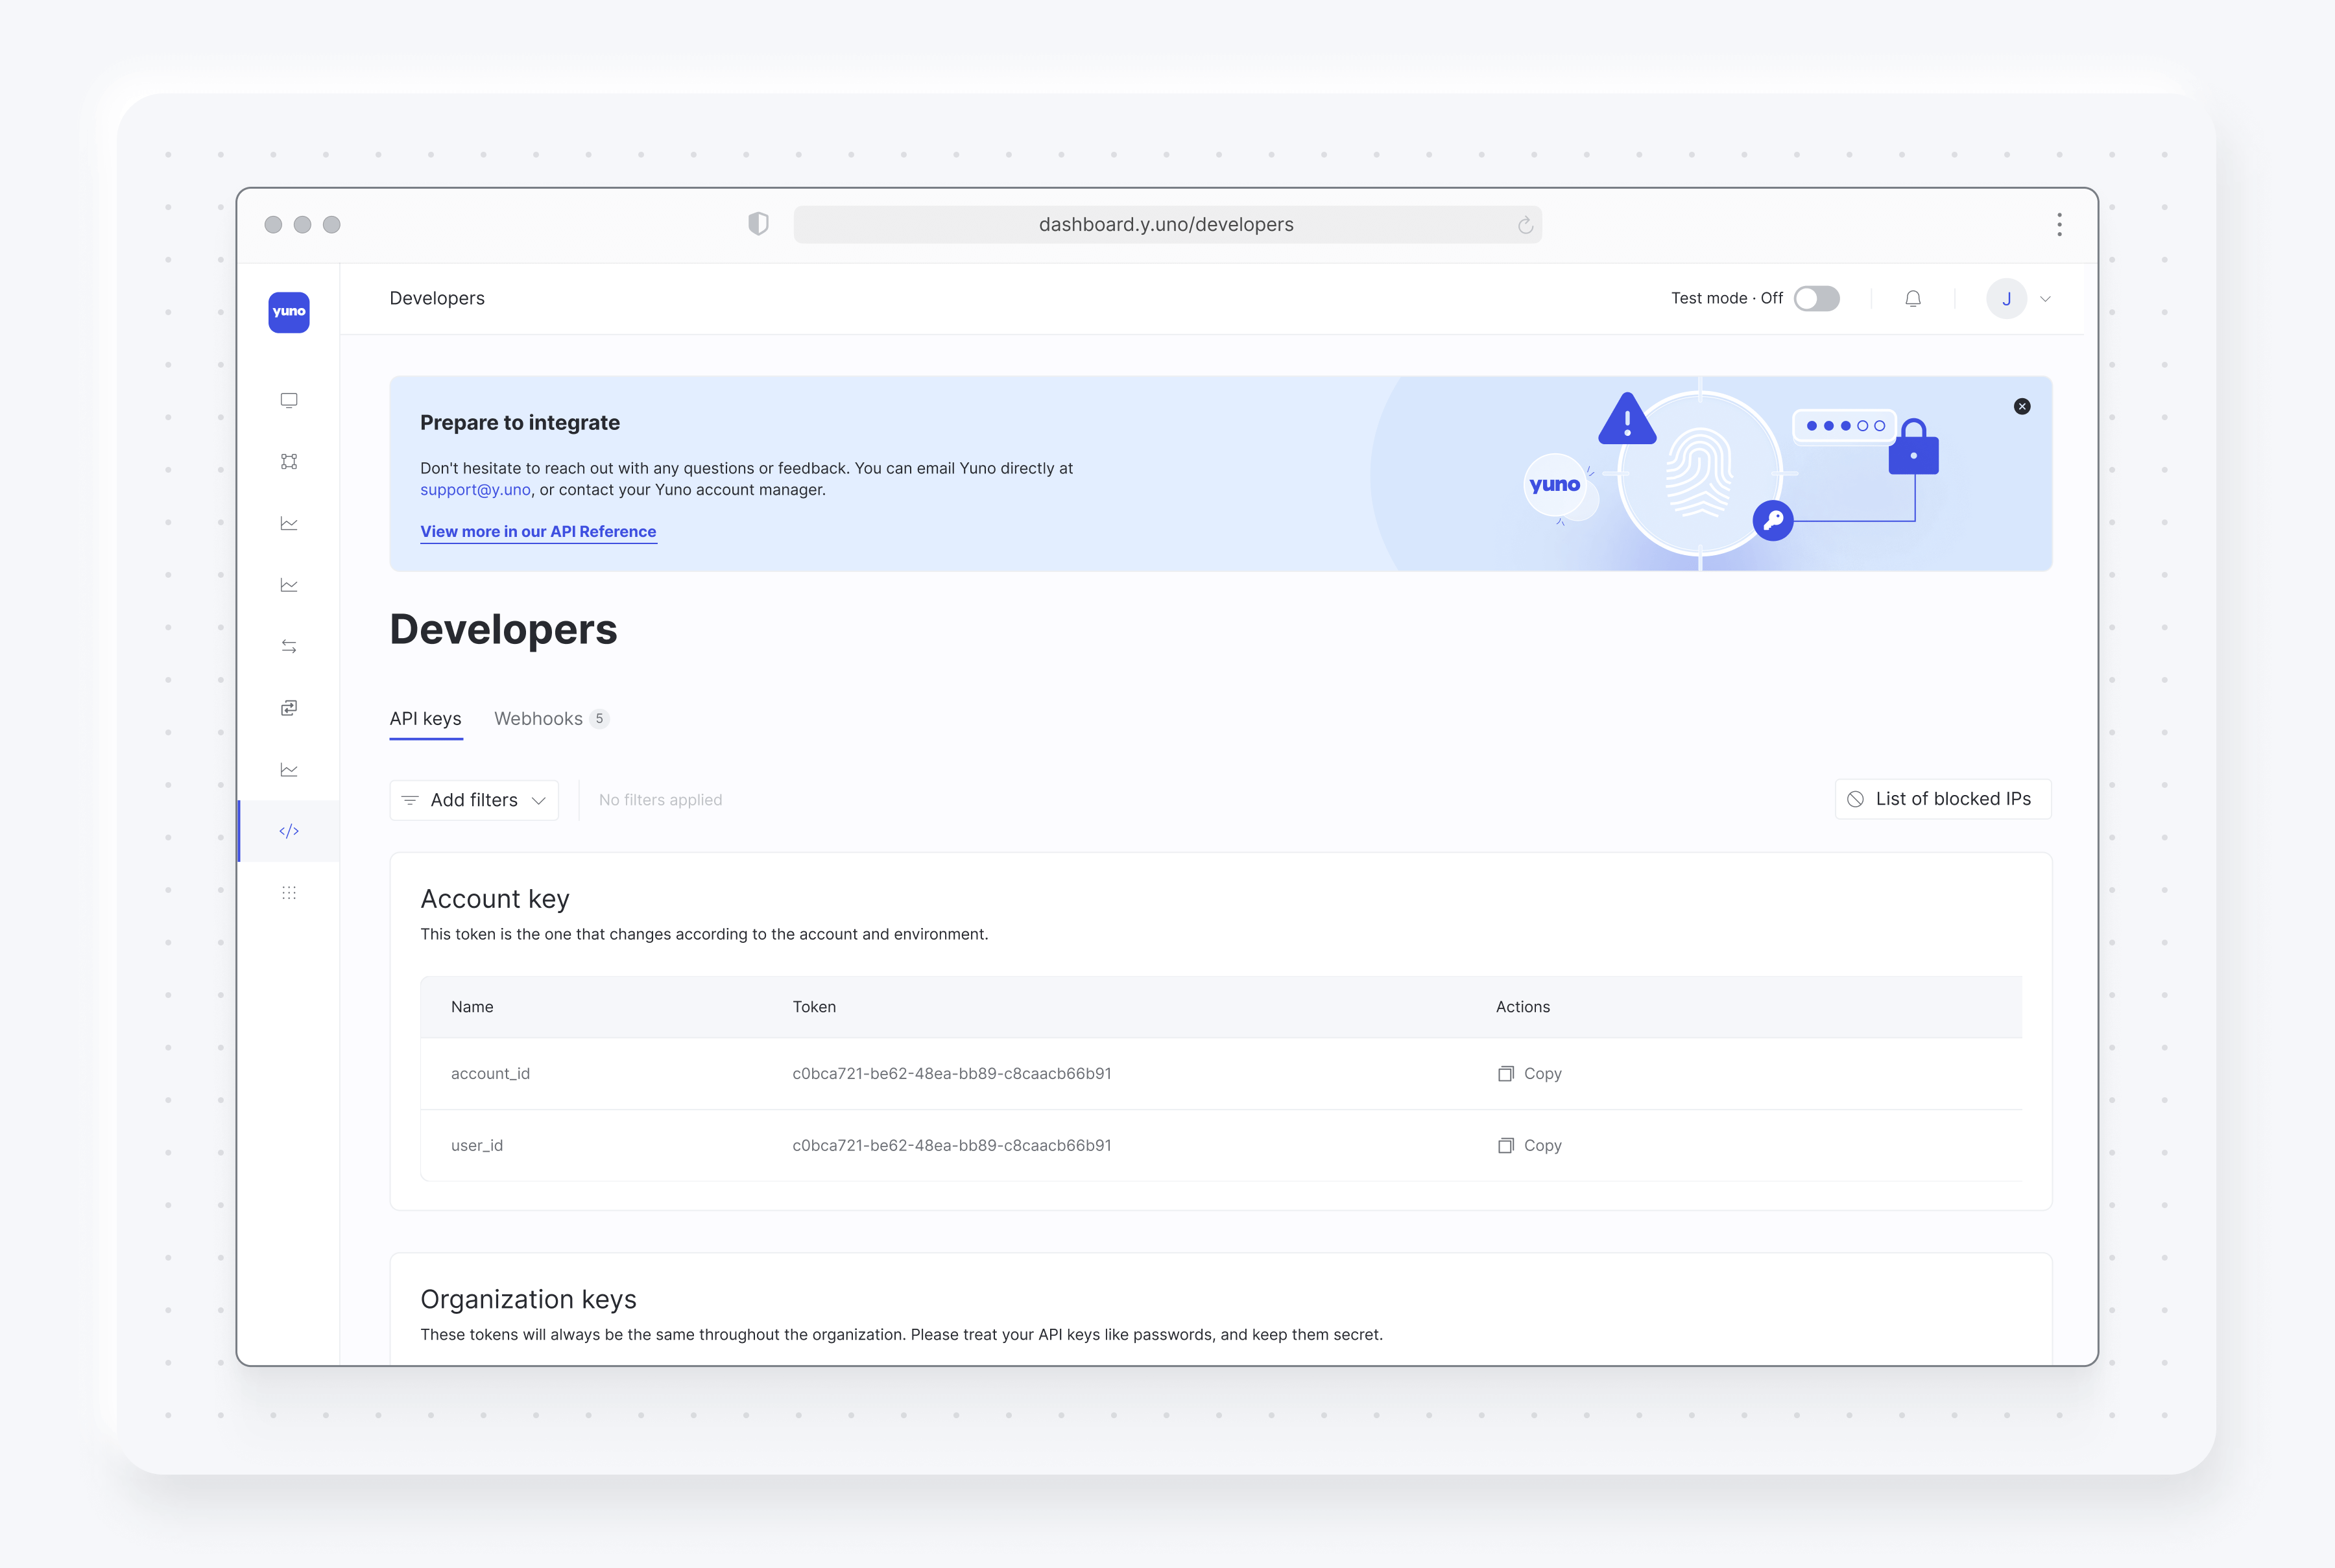
Developers (Credentials)
The Developers section in the Yuno dashboard provides secure authentication credentials (also known as keys) for integrating Yuno's services. Yuno maintains separate keys for Test and Live environments, ensuring robust security and smooth operations.
Credential structure
Yuno implements a two-tier authentication hierarchy:
-
Organization keys
- Primary authentication layer providing a gateway to your overarching operations
- Grant access to all accounts associated to your organization
- Assigned to your organization after registering with Yuno
-
Account keys
- Unique to each account within your organization
- Operate independently between Test and Live modes
- Provide granular access control
Accessing credentials
You can access your authentication credentials in two ways:
- Account management: The Yuno dashboard's Account management section contains credentials for each account. Click each account name to gain instant access to its keys.
- Developers section: You can also access your authentication credentials from the Developers section. The Authentication tab, open by default, will showcase account, organization, and customized API keys. Your permissions will determine which keys are visible. This area is particularly valuable when integrating Yuno functionalities into your applications or systems.
Customized API keys
Yuno lets you create customized API keys for increased security and control, ensuring only authorized members can access data and reports via the API.
Inside the Authentication tab of the Developers section, look for Customized API keys and click Create key next to it. From here, you can set various parameters:
- Key name and the member who can access it.
- The account(s) associated with the new key.
- The product(s) accessible by the key, such as subscriptions, payments, installment plans, and more.
The flexibility of customized API keys streamlines access and permission control, enabling easy and secure API integration management through the Yuno dashboard.
Important: API Key DisplayWhen you create a customized API key, the key value is displayed only once during creation. Make sure to copy and securely store the key immediately, as you won't be able to view it again. If you lose the key or need to rotate it for security reasons, you can roll (regenerate) the key, which will invalidate the previous key and generate a new one.
Safeguarding your credentials
Protecting your authentication credentials is paramount for maintaining secure operations. Follow these guidelines:
- Treat credentials as sensitive information
- Never share credentials with unauthorized parties
- Monitor credential usage
Security AlertIf you suspect credential exposure or unauthorized access, contact our support team immediately. Prompt action helps maintain the security of your operations.
Allowed IPs
You can configure a list of allowed IP addresses to restrict API access to specific IP addresses or IP ranges. This adds an additional layer of security by ensuring that API requests can only originate from approved IP addresses.
Important: IP ValidationIf no IP addresses are added, IPs will not be validated by default. Please be mindful when adding new IPs, as it is a sensitive change that may impact payment processing.
To configure allowed IPs:
- Navigate to the Developers section in the Yuno dashboard.
- Go to the Authentication tab.
- Click the List of allowed IPs button (located in the top right area of the Authentication tab).
- In the modal that opens, enter IP addresses or IP ranges in the Enter IP address field. You can:
- Enter individual IP addresses (e.g.,
192.168.1.1) - Enter IP ranges using CIDR notation (e.g.,
192.168.1.0/24) - Add multiple IPs by separating them with a comma, semicolon, space, or by pressing Enter
- Enter individual IP addresses (e.g.,
- Review the list of allowed IPs in the table below.
- Click Save changes to apply the configuration.
Once configured, API requests from IP addresses not in the allowed list will be rejected, enhancing the security of your API integrations.
IP Address ManagementYou can add multiple IP addresses or ranges, and update or remove them as needed. Changes to the allowed IP list take effect immediately.
Webhooks
The Webhooks tab in the Developers section allows you to create and manage webhooks for receiving real-time notifications about events in your Yuno account.
Creating a webhook
To create a new webhook:
- Navigate to the Developers section in the Yuno dashboard.
- Click on the Webhooks tab.
- Click Add webhook to open the webhook creation form.
- Fill in the required information in the Details section:
- Name: Provide a descriptive name for your webhook.
- Endpoint URL: Enter the URL where Yuno should send webhook notifications.
- x-api-key and x-secret: Set authentication credentials for webhook verification (optional but recommended).
- Use OAuth2 Authentication: Enable OAuth2 authentication for webhook verification (optional).
- Use HMAC Authentication: Enable HMAC authentication for webhook verification (optional).
- Under Trigger on (required), select the events that should trigger the webhook. Available event categories include:
- Enrollment: Enroll, Unenroll
- Payment: Authorize, Cancel, Capture, Refund, Verify, Chargeback, Purchase
- Report: Create, Update
- Subscription: Create, Pause, Resume, Cancel, Complete
- Under Apply this webhook to other accounts (required), select which accounts should receive webhook notifications. You can:
- Select specific accounts from the list
- Use "Select all" to apply to all accounts
- Use "Inverse" to invert your selection
- Choose "Current account only" to limit the webhook to the current account
- Click Add to create the webhook.
Managing webhooks
Once created, you can:
- View webhook details: See the webhook configuration, endpoint URL, and triggered events.
- Edit webhook: Update the webhook name, endpoint URL, authentication credentials, or triggered events.
- Test webhook: Send a test notification to verify the webhook is working correctly.
- Delete webhook: Remove a webhook that is no longer needed.
Webhook SecurityAlways use HTTPS for your webhook endpoint URLs to ensure secure transmission of webhook data. Additionally, verify webhook signatures using the provided public key and private secret key to ensure the webhooks are authentic and haven't been tampered with.
Updated 7 days ago