Secure Fields (Payment)
Implement Yuno's Secure Fields checkout in your application by following these steps.
Yuno provides a TypeScript library for all available methods.
Step 1: Include the library in your project
Before proceeding with the Secure Fields implementation, see the SDK Integration Overview for detailed instructions on how to properly integrate the SDK into your project.
The integration guide provides three flexible methods:
- Direct HTML script inclusion
- Dynamic JavaScript injection
- NPM module installation
After integrating the SDK, continue with the remaining steps on this page.
Step 2: Initialize secure fields with the public key
In your JavaScript application, create an instance of the Yuno class by providing a valid PUBLIC_API_KEY:
const yuno = await Yuno.initialize(PUBLIC_API_KEY);See the credentials page for more information.
Step 3: Start the checkout process
Use the secureFields function and provide the necessary configuration parameters:
The essential parameters are the countryCode, which determines the country for which the payment process is configured, and checkoutSession, which refers to the current payment's checkout session.
Parameters
Configure the secure fields with the following options:
| Parameter | Description |
|---|---|
countryCode | This parameter specifies the country for which the payment process is being set up. Use an ENUM value representing the desired country code. You can find the full list of supported countries and their corresponding codes on the Country Coverage page. |
checkoutSession | Refers to the current payment's checkout session. Example: '438413b7-4921-41e4-b8f3-28a5a0141638' |
installmentEnable | This parameter is optional and is set false by default. If set True, the installments set for the account will be shown as a secure field. |
const secureFields = yuno.secureFields({
  countryCode: country,
  checkoutSession,
  installmentEnable: false
});
Payments can be customer-initiated (CIT) or merchant-initiated (MIT). See Stored credentials. These steps cover customer-initiated transactions (one-time; no recurrence).
Step 4: Mount the Secure Fields
After defining the parameters, define, configure, and mount the Secure Fields. For each field, set name and options in secureFields.create.
Configurations:
| Parameters | Description |
|---|---|
name | The available names for field names are cvv, pan, or expiration. |
options.placeholder | Default placeholder for the field. |
options.styles | Additional CSS styles for the current field. |
options.label | Field visible label. |
options.showError | Defines if errors will be shown. Available options are true and false. |
options.onChange | An auxiliary function that can be configured and will run when the field content changes. Indicates if the fields have errors or additional data. |
options.onBlur | An auxiliary function that can be configured and will run when blurring from the input. |
options.validationType | When to run validation. Possible values: 'on_change' (as the user types), 'on_blur' (when the field loses focus), 'on_blur_full' (full validation on blur). Default in checkout flows: 'on_blur_full'. Outside checkout flows: no default — set explicitly if you want validation. Recommended over the deprecated validateOnBlur. |
options.validateOnBlur | Deprecated. Use validationType instead. When true, validation runs when the field loses focus. Replaced by validationType: 'on_blur' (or 'on_blur_full' for full validation on blur). Still accepted at runtime but removed from TypeScript types. |
options.onFocus | An auxiliary function that can be configured and will run when focusing on the input. |
options.onRenderedSecureField | An auxiliary function that can be configured and will run when the element finishes rendering. |
options.errorMessage | This allows for the definition of the field's error message. |
options.inputMode | (v1.2+ only) Defines the type of keyboard to display on mobile devices. Possible values: 'numeric' (default) or 'text'. |
Validation behaviour (validationType): Use options.validationType to control when the field is validated: 'on_change' validates as the user types; 'on_blur' validates when the field loses focus; 'on_blur_full' runs full validation on blur. Default: in checkout flows, 'on_blur_full'. Outside checkout flows there is no default — specify validationType if you want validation. If you previously used validateOnBlur: true, migrate to validationType: 'on_blur' or, for full validation on blur, validationType: 'on_blur_full'.
Once you have set the parameter, you will render the created Secure Field with the render function by selecting an HTML element using a valid CSS selector (#, ., [data-*]).
Example (three Secure Fields):
Data available in onChange callback
When the onChange callback is triggered, the data parameter contains:
- Card IIN Information: Card issuer details including scheme, brand, type, and issuer information
- Installment Plans: Available installment options for the account if configured
- Loading States:
isCardIINLoadingandisInstallmentLoadingboolean flags
const secureNumber = secureFields.create({
name: 'pan',
options: {
placeholder: '0000 0000 0000 0000',
styles: ``,
label: 'Card Number',
showError: true,
errorMessage: "Custom Error",
validationType: 'on_blur_full', // validates fully on blur (default in checkout)
onChange: ({ error,data }) => {
if (error) {
console.log('error_pan')
} else {
console.log('not_error_pan')
}
},
onBlur() {
console.log('blur_pan')
},
onFocus: () => {
console.log('focus_pan')
},
onRenderedSecureField: ()=> {
console.log('render completed')
}
},
})
secureNumber.render('#pan')
const secureExpiration = secureFields.create({
name: 'expiration',
options: {
placeholder: 'MM / YY',
styles: ``,
label: 'Card Expiration',
showError: true,
errorMessage: "Custom Error",
onChange: ({ error }) => {
if (error) {
console.log('error_expiration')
} else {
console.log('not_error_expiration')
}
},
onBlur() {
console.log('blur_expiration')
},
onFocus: () => {
console.log('focus_expiration')
},
onRenderedSecureField: ()=> {
console.log('render completed')
}
},
})
secureExpiration.render('#expiration')
const secureCvv = secureFields.create({
name: 'cvv',
options: {
placeholder: 'CVV',
styles: ``,
label: 'CVV',
showError: true,
errorMessage: "Custom Error",
onChange: ({ error }) => {
if (error) {
console.log('error_cvv')
} else {
console.log('not_error_cvv')
}
},
onBlur() {
console.log('blur_cvv')
},
onFocus: () => {
console.log('focus_cvv')
},
onRenderedSecureField: ()=> {
console.log('render completed')
}
},
})
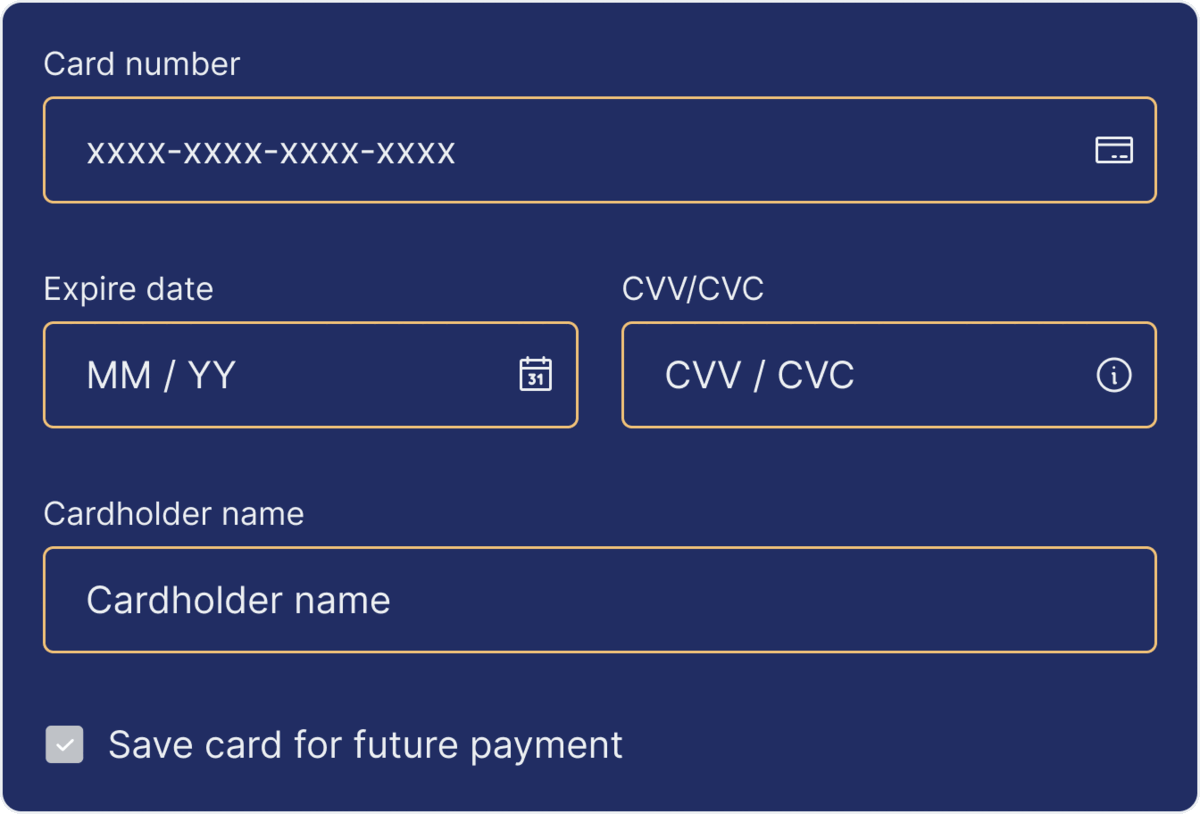
secureCvv.render('#cvv')Below, you can see a GIF showing how you can configure the Secure Fields:
Step 5: Generate an OTT (one-time token)
With all user information in hand, start the payment by creating a One-Time Token (OTT) using the function secureFields.generateToken. As it is an asynchronous function, use try/catch to handle triggered errors. When you use a vaulted token with the SDK, all the fraud information from the providers you configured in your card routing is collected and attached to the one-time token; you can add installment information and a security code if the provider requires it.
Generate token parameters
| Parameter | Description |
|---|---|
checkoutSession | Optional: Different checkout session ID for card data persistence after payment errors |
cardHolderName | Required: Name of the cardholder |
saveCard | Optional: Whether to save the card for future payments |
vaultedToken | Optional: Use if you have a previously enrolled payment method |
installment | Optional: Required only if an installment plan is configured for the account |
const oneTimeToken = await secureFields.generateToken({
  checkoutSession: '{{the checkout session id}}',
  cardHolderName: 'John Deer',
  saveCard: true,
  vaultedToken: "aad8578e-ac2f-40a0-8065-25b5957f6555",
  installment: {
            id: string,
            value: number,
            amount: {
                currency: string,
                value: string,
                total_value: string,
            },
        },
  customer: {
    document: {
      document_number: '1090209924',
      document_type: 'CC',
    },
  },
  cardType: 'DEBIT'
})
You can also use secureFields.generateTokenWithInformation to receive any additional info the customer gives at checkout, such as installments or document type/number. Create a one-time token with error handling:
const oneTimeTokenWithInformation = await secureFields.generateTokenWithInformation({
  checkoutSession: '{{the checkout session id}}',
  cardHolderName: 'John Deer',
  saveCard: true,
  vaultedToken: "aad8578e-ac2f-40a0-8065-25b5957f6555",
  installment: {
            id: string,
            value: number,
            amount: {
                currency: string,
                value: string,
                total_value: string,
            },
        },
  customer: {
    document: {
      document_number: '1090209924',
      document_type: 'CC',
    },
  },
  cardType: 'DEBIT'
})
Step 6: Create the Payment
After receiving the one-time token, you can create the payment using one of the following options:
- Create the payment using the Create Payment endpoint.
- Use the
createPaymentfunction.
Both options require you to provide the oneTimeToken and the checkoutSession. As creating the payment may raise errors, Yuno recommends you use a try/catch function here.
Check payment status with yuno.mountStatusPayment. Example (createPayment and mountStatusPayment):
Payment creation flow
- Create Payment: Use the
createPaymentfunction with the one-time token and checkout session - Check SDK Action: If
sdk_action_requiredis true, callyuno.continuePayment()for additional customer actions - Mount Status: If no SDK action is required, use
yuno.mountStatusPayment()to display payment status
Mount status payment parameters
| Parameter | Description |
|---|---|
checkoutSession | The checkout session ID for the payment |
countryCode | Country code for the payment process |
language | Language for the status display |
yunoPaymentResult | Callback function that receives payment status updates |
const payment = await createPayment({ oneTimeToken, checkoutSession })

if (payment.checkout.sdk_action_required) {
      yuno.continuePayment()
} else {
  yuno.mountStatusPayment({
    checkoutSession: checkoutSession,
    countryCode: 'US',
    language: 'en',
    yunoPaymentResult(data) {
      console.log('yunoPaymentResult', data)
    },
  })
}
Complementary features
For styling, themes, form options, and additional configurations, see SDK customizations.
Updated 22 days ago