Payment Flows
The Android SDK makes it easy to integrate payment flows into your Android app.
Additional resources
- See Choose the right integration for you if you're unsure which flow to follow.
- Access the Release notes or the Yuno Android SDK repository to verify the latest SDK version available.
Requirements
- Minimum SDK Version:
minSdkVersion21 or above - Java: Java 8 enabled
- AndroidX: Use AndroidX instead of older support libraries
- Android Gradle Plugin: 4.0.0 or above
- ProGuard: 6.2.2 or above
- Kotlin Gradle Plugin: 1.4.0 or above
- ELF Page Size Support: Compliant with Google's 16 KB ELF page alignment requirements (Android 15 / ARMv9 ready)
- Active Yuno account
- Yuno API credentials (obtain from the Yuno Dashboard → Developers > Credentials)
- Create a
checkout_sessionand the payment via the API; create a customer using the Create customer endpoint before creating a payment
Include the library in your project
The first step is always including the library in your project; this step is performed regardless of which integration type you choose. Add the Yuno Android SDK to your project through Gradle. Add the repository source and dependency:
maven { url "https://yunopayments.jfrog.io/artifactory/snapshots-libs-release" }dependencies {
implementation 'com.yuno.payments:android-sdk:2.11.0'
}Once Step 1 is complete, continue with your desired integration.
Basic flows
- Full (Android): Complete control with backend support and full customization options
- Seamless (payment Android): Fastest integration with pre-built UI components
Advanced flows
- Lite (Android): Lightweight integration allowing you to control the UI and payment methods list, as well as backend support
- Headless (Android): Full checkout experience customization without requiring PCI compliance
Parameters
For the full list of parameters and YunoConfig details, see the Android SDK Common Reference.
| Parameter | Description |
|---|---|
checkoutSession | Checkout session ID from your backend (Create checkout session API). Required. |
countryCode | ISO country code (e.g. US). Required. |
callbackPaymentState | Callback: payment state (e.g. SUCCEEDED, FAIL, PROCESSING, REJECT). |
merchantSessionId | Optional merchant session identifier. |
YunoConfig (initialize) | Optional: saveCardEnabled, cardFormDeployed, language, styles, placeholders. See Common Reference. |
Full (Android)
Implement Full (Android): customizable UI, payment method management, fraud prevention, and checkout flows. More feature-rich than Headless, which focuses on core payment processing. See Requirements above.
Step 1: Include the library in your project
Follow the steps in Include the library in your project above.
Step 2: Initialize SDK with the public key
Retrieve your public API keys from the Yuno Dashboard.
If you haven't implemented a custom application, create one. In the onCreate() method of your application class, call the initialize function (Yuno.initialize):
class CustomApplication : Application() {
  override fun onCreate() {
    super.onCreate()
    Yuno.initialize(
      this,
      "<your-public-api-key>",
      config = YunoConfig(),
    )
  }
}
See the credentials page for more information. Use the data class YunoConfig to customize the SDK's behavior. Include this configuration when calling Yuno.initialize(). The available options are:
data class YunoConfig(
    val saveCardEnabled: Boolean = false,
    val language: YunoLanguage? = null,
    val styles: YunoStyles? = null,
)
cardFlow removed from YunoConfigStarting from version 2.11.0,
cardFlowis no longer part ofYunoConfig. Card flow configuration is now handled exclusively through the CheckoutBuilder. If you are migrating from an earlier version, removecardFlowfrom yourYunoConfigand configure it in the CheckoutBuilder instead.
YunoConfig options
Customization options:
| saveCardEnabled | Enables the Save card checkbox on card flows. Check the Save card section for more information. |
| language | Defines the language to be used in the payment forms. You can set it to one of the available language options:
- es (Spanish)
- en (English)
- pt (Portuguese)
- fil (Filipino)
- id (Indonesian)
- ms (Malay)
- th (Thai)
- zh-TW (Chinese (Traditional, Taiwan))
- zh-CN (Chinese (Simplified, China))
- vi (Vietnamese)
- fr (French)
- pl (Polish)
- it (Italian)
- de (German)
- ru (Russian)
- tr (Turkish)
- nl (Dutch)
- sv (Swedish)
- ko (Korean)
- ja (Japanese)
- ar (Arabic)
styles | Enables SDK-wide UI customization. Use it to define global visual styles like font family and button appearance (color, padding, radius, typography) through a YunoStyles object. For more information, check the styles section. |
Update your manifest to use your application:
<application android:name=".CustomApplication"></application>Step 3: Create the checkout session
Each payment requires a new checkout_session. Use the Create checkout session endpoint to create one; use that session to initiate the payment.
If your payment flow sends users to an external browser (e.g., for 3DS authentication or bank redirects), set the callback_url when creating your checkout session. See Handle external browser return (callback_url) for details.
Step 4: Start the checkout process
Call the startCheckout method inside the onCreate() function of the activity that initializes the SDK to start a new payment process with Full (Android):
startCheckout(
  checkoutSession: "checkout_session",
  countryCode: "country_code_iso",
  callbackPaymentState: ((String?) -> Unit)?,
  merchantSessionId: String? = null
)
See Parameters. The following are the possible states returned by the callbackPaymentState:
const val PAYMENT_STATE_SUCCEEDED = "SUCCEEDED"
const val PAYMENT_STATE_FAIL = "FAIL"
const val PAYMENT_STATE_PROCESSING = "PROCESSING"
const val PAYMENT_STATE_REJECT = "REJECT"
const val PAYMENT_STATE_INTERNAL_ERROR = "INTERNAL_ERROR"
const val PAYMENT_STATE_STATE_CANCELED_BY_USER = "CANCELED"
Possible states:
| State | Description | Additional action required |
|---|---|---|
SUCCEEDED | The transaction or payment process was successfully completed without any errors. | No. |
FAIL | The transaction failed due to errors such as data validation issues, server connection failures, or technical/network problems. | Yes. Investigate the cause of failure (validation, network, server) and take corrective measures. |
PROCESSING | The transaction is currently in progress, awaiting approval or verification. | No. |
REJECT | The transaction was rejected due to reasons like insufficient funds or suspected fraudulent activity. | Yes. Inform the user of the rejection, provide the reason if possible, and suggest actions. |
INTERNAL_ERROR | An unexpected internal error occurred within the system handling the payment process. | Yes. Requires technical intervention to review the system, fix internal issues, and retry or inform the user. |
CANCELED | The user voluntarily canceled the transaction or abandoned the payment process. | No. |
Payment status validation
This section explains how the SDK handles payment status when users cancel or leave payment flows, and how the SDK status relates to the backend payment status in these scenarios.
Sync payment methods (Google Pay)
For synchronous payment methods like Google Pay, when a user cancels or closes the wallet UI before a payment service provider (PSP) response is received:
- SDK Status: Returns
CANCELED(CANCELLED_BY_USER) - Backend payment status: Remains
PENDINGuntil PSP timeout or merchant cancellation - Important: The SDK will not return
REJECTorPROCESSINGin this scenario
This ensures that the backend payment remains in a pending state and can be properly handled by the merchant's system.
Async payment methods (PIX and QR-based methods)
For asynchronous payment methods like PIX, when a user closes the QR code window (clicks X) before completing the payment:
- SDK Status: Returns
PROCESSING, optionally with a sub-status such asCLOSED_BY_USER - Backend payment status: Remains
PENDINGand the QR code remains valid until expiry - Checkout session reuse: Re-opening the same checkout session can display the same valid QR code
- No Automatic Cancellation: The PIX payment is not automatically cancelled when the user closes the QR window
This behavior allows users to return to the payment flow and complete the transaction using the same QR code before it expires.
Expired async payments
If a PIX QR code expires naturally:
- Backend Status: Updated to
EXPIRED - SDK Status: SDK callbacks and polling endpoints return
EXPIREDconsistently
This ensures merchants receive accurate status information when a payment method has expired.
Step 5: Add the SDK view to the checkout
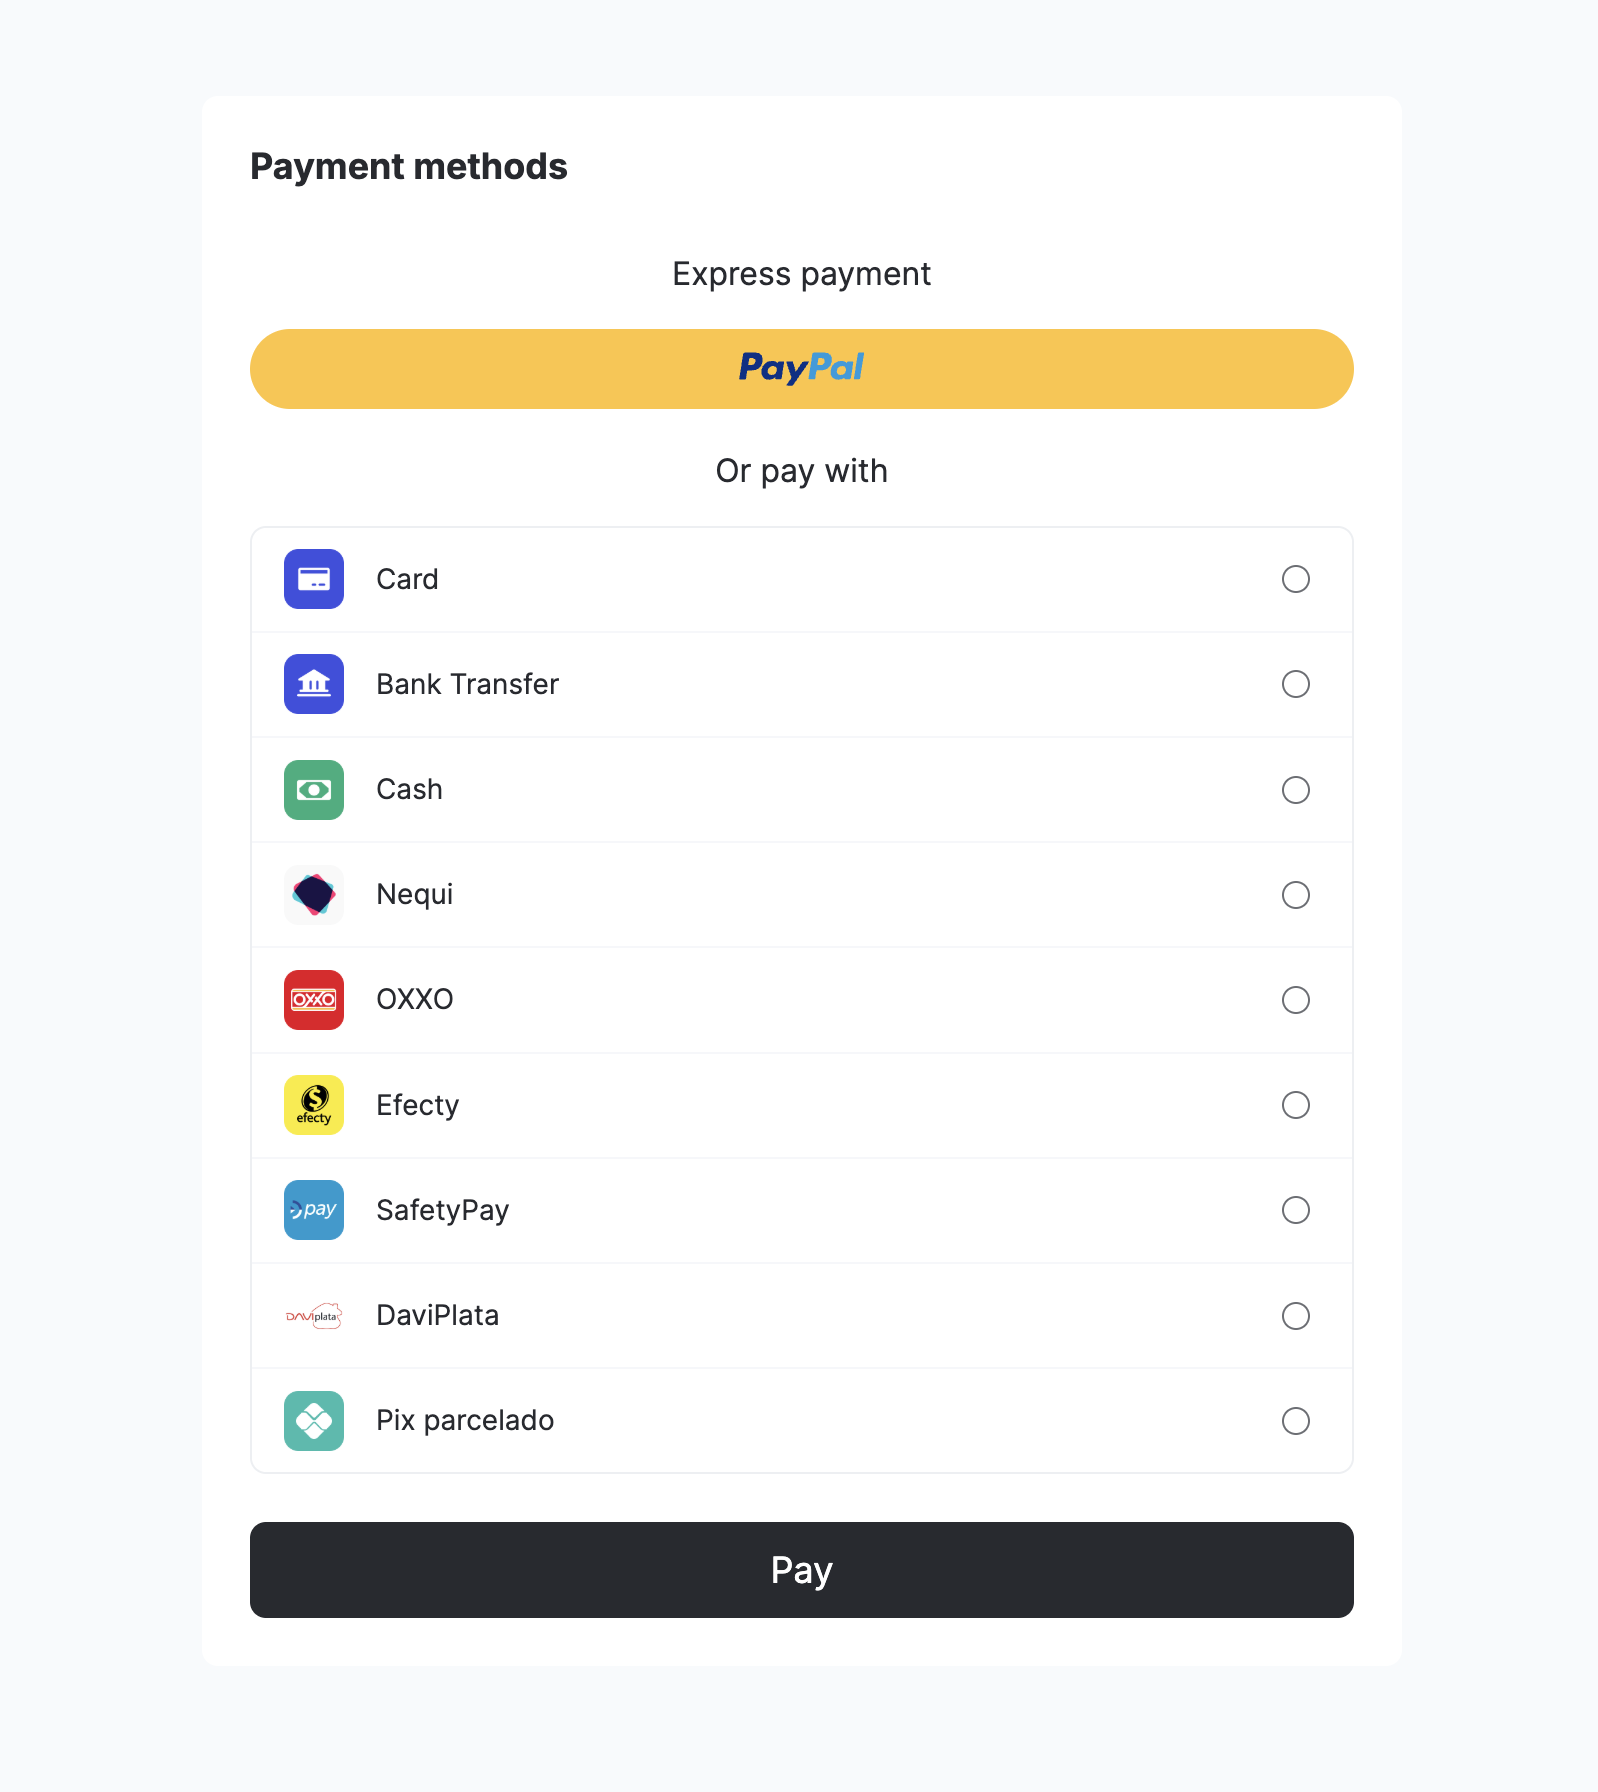
Use the PaymentMethodListViewComponent to display the available payment methods when implementing Full (Android) with Jetpack Compose. This component provides callbacks to notify your app when to enable or disable the pay button, and when an enrolled payment method is successfully removed.
Component signature
@Composable
fun PaymentMethodListViewComponent(
    activity: Activity,
    modifier: Modifier? = null,
    onPaymentSelected: (Boolean) -> Unit,
    onUnEnrollSuccess: (Boolean) -> Unit = {}
)
Component options
activity: Activity: CurrentActivitywhere the component is hosted. Required for payment flows.modifier: Modifier?(optional): Layout and appearance (e.g. padding, spacing). Defaults tonull.onPaymentSelected: (Boolean) -> Unit: Invoked when a payment method is selected or deselected (true= method selected, enable pay button;false= none selected).onUnEnrollSuccess: (Boolean) -> Unit(optional): Invoked when a stored payment method is successfully removed.
Example
val coroutineScope = rememberCoroutineScope()
val snackbarHostState = remember { SnackbarHostState() }
var paymentMethodIsSelected by remember { mutableStateOf(false) }

Column(
    modifier = Modifier
        .weight(1f)
        .verticalScroll(rememberScrollState())
) {
    PaymentMethodListViewComponent(
        activity = activity,
        onPaymentSelected = { isSelected ->
            paymentMethodIsSelected = isSelected
        },
        onUnEnrollSuccess = { success ->
            if (success) {
                coroutineScope.launch {
                    snackbarHostState.showSnackbar(
                        message = "Your payment method has been removed",
                    )
                }
            }
        },
    )
}
ImportantAlways wrap the component in a
Columnwith.verticalScroll(rememberScrollState()). Without this, the list of payment methods may not render or scroll properly when there are multiple methods available.
Step 6: Initiate the payment process
Call the startPayment() method to start a payment process:
startPayment(
    showStatusYuno: Boolean,
    callbackOTT: (String?) -> Unit = this::onTokenUpdated,
    callBackTokenWithInformation: (OneTimeTokenModel?) -> Unit = this::onTokenComplete
)
Options
Configure the payment with the following options:
| Parameter | Description |
|---|---|
showStatusYuno | A boolean that specifies whether the payment status should be displayed within the Yuno interface. |
callbackOTT | A required function that returns the updated one-time token (OTT) needed to complete the payment process. This token is required to complete the payment. |
callBackTokenWithInformation | A function that supplies detailed information about the one-time token, wrapped in a OneTimeTokenModel object, allowing for comprehensive handling of token details. |
OneTimeTokenModel
The callBackTokenWithInformation callback provides detailed information about the one-time token through the OneTimeTokenModel object:
@Parcelize
data class OneTimeTokenModel(
    val token: String? = null,
    val vaultedToken: String? = null,
    val vaultOnSuccess: Boolean? = null,
    val type: String? = null,
    val cardData: CardInformationModel? = null,
    val customer: CustomerPayerInformationModel? = null,
) : Parcelable
Card Information Model
@Parcelize
data class CardInformationModel(
    val holderName: String? = null,
    val iin: String? = null,
    val lfd: String? = null,
    val numberLength: Int? = null,
    val securityCodeLength: Int? = null,
    val brand: String? = null,
    val type: String? = null,
    val category: String? = null,
    val issuerName: String? = null,
    val issuerCode: String? = null,
    val countryCode: String? = null,
) : Parcelable
Customer Payer Information Model
`@Parcelize
data class CustomerPayerInformationModel(
    val name: String? = null,
    val lastName: String? = null,
    val email: String? = null,
    val document: Document? = null,
    val phone: Phone? = null,
    val address: Address? = null,
    val deviceFingerPrint: String? = null,
    val thirdPartySessionId: String? = null,
) : Parcelable
Supporting Models
@Parcelize
data class Document(
    val documentNumber: String? = null,
    val documentType: String? = null,
) : Parcelable

@Parcelize
data class Phone(
    val number: String,
    val countryCode: String,
) : Parcelable

@Parcelize
data class Address(
    val addressLine1: String? = null,
    val addressLine2: String? = null,
    val country: String? = null,
    val city: String? = null,
    val state: String? = null,
    val zipCode: String? = null,
    val neighborhood: String? = null,
) : Parcelable
Step 7: Get the one-time token (OTT)
After the customer fills out the requested data in Yuno's payment forms, you will obtain the one-time token, a required parameter to create a payment using the Yuno API.
The one-time token will be shared by Yuno using the callbackOTT function you provided in Step 6 when initiating the payment. The one-time token will be available in the onActivityResult.
A loader can be shown while the one-time token is generated. Use Yuno's default or implement your own with the required configuration.
Step 8: Create the payment
After receiving the one-time token from Step 7, create the payment using the Create payment endpoint. Use the checkout_session from Step 3 and the one-time token to create the payment.
The response from the Create payment endpoint will include the parameter sdk_action_required, which defines if additional actions are required to finish the payment based on the payment type.
Continue Payment Method IntegrationYuno requires you integrate the
continuePaymentmethod of the SDK after the payment is created because certain asynchronous payment methods require additional customer actions to complete. The API will inform you of this scenario via thesdk_action_requiredfield of the response, which will be returned as true. Theyuno.continuePayment()function will display additional screens to customers, where they can carry out the necessary actions to complete the payment without you needing to handle every scenario.
Step 9: Continue payment
Yuno requires integrating the SDK's continuePayment method after the payment is created, as certain asynchronous payment methods require additional customer actions to complete. The response from the Create payment endpoint, from Step 8, will include a sdk_action_required field. If it returns TRUE, you need to call the continuePayment() function to show additional screens that allow the customer to complete the payment. Otherwise, this step is not necessary. Call the continuePayment method:
continuePayment(
    showPaymentStatus: Boolean = true,
    checkoutSession: String? = null,
    countryCode: String? = null,
    callbackPaymentState: ((String?) -> Unit)? = null
)
To show your payment status screens, send FALSE in the showPaymentStatus parameter. Then, get the payment state by callback.
Complementary features
For styling, themes, form options, and additional configurations (including Click to Pay with Passkey), see SDK customizations.
Seamless (payment Android)
Seamless (payment Android) for payments.
Recommended: Use Seamless (payment Android) for pre-built UI and customization.
This SDK is ideal for merchants who:
- Want control over the payment flow while leveraging pre-built UI components
- Need to customize the payment experience while maintaining PCI compliance
- Require a balance between implementation speed and customization
Seamless (payment Android) includes features like:
- Pre-built payment UI components with customization options
- Multiple payment method support
- Advanced payment status handling
- Comprehensive error management
For merchants requiring complete UI control or more advanced features, consider using our Full instead.
See Requirements above.
Step 1: Create a customer
Create a customer using the Create customer endpoint before initiating payments. This step is required to:
- Identify the person making the payment
- Enable saved card functionality (if enabled)
- Track payment history
The customer ID returned from this endpoint will be used when creating the checkout_session.
Step 2: Create a checkout session
Create a new checkout_session using the Create checkout session endpoint to initialize the payment flow. Make sure to:
- Include the customer ID obtained from the previous step
- Store the returned
checkout_sessionID for use in Step 5 of the integration
Auth vs captureControl auth vs capture by sending
payment_method.detail.card.capturein the checkout session:false= authorize only,true= capture immediately.
Checkout session options
| Parameter | Required | Description |
|---|---|---|
amount | Yes | The primary transaction amount object containing currency (ISO 4217 code) and value (numeric amount in that currency). |
alternative_amount | No | An alternative currency representation of the transaction amount with the same structure as amount (currency and value). Useful for multi-currency scenarios, such as displaying prices to customers in their preferred currency (e.g., USD) while processing the payment in the local currency (e.g., COP). |
Checkout session usageThe
checkout_sessionis unique for each payment attempt and cannot be reused.
Follow the steps in Include the library in your project above.
Step 3: Configure permissions
The Yuno SDK requires network permissions. Ensure the INTERNET permission is included in your AndroidManifest.xml:
<uses-permission android:name="android.permission.INTERNET" />Step 4: Initialize SDK
Retrieve your public API keys from the Yuno Dashboard.
If you haven't implemented a custom application, create one. In the onCreate() method of your application class, call the initialize function (Yuno.initialize):
class CustomApplication : Application() {
    override fun onCreate() {
        super.onCreate()
        Yuno.initialize(
            this,
            PUBLIC_API_KEY,
            config = YunoConfig()
        )
    }
}
Use the YunoConfig data class to set additional configurations. Options:
| Option | Description |
|---|---|
| saveCardEnabled | Enables the save card checkbox for card flows. Check the Save card section for more information. |
| language | Defines the language to be used in the payment forms. You can set it to one of the available language options:
|
| styles | Enables SDK-wide UI customization. Use it to define global visual styles like font family and button appearance (color, padding, radius, typography) through a YunoStyles object. For more information, check the styles section. |
cardFlow removed from YunoConfigStarting from version 2.11.0,
cardFlowis no longer part ofYunoConfig. Card flow configuration is now handled exclusively through the CheckoutBuilder.
Example (YunoConfig):
data class YunoConfig(
    val saveCardEnabled: Boolean = false,
    val language: YunoLanguage? = null,
    val styles: YunoStyles? = null,
)
Step 5: Start checkout
Call the startCheckout method in the onCreate() function of the activity that integrates the SDK to initiate a new payment process with Seamless (payment Android):
startCheckout(
  checkoutSession: "checkout_session",
  countryCode: "US",
  callbackPaymentState: ((String?) -> Unit)?,
  merchantSessionId: String? = null
)| Parameter | Description |
|---|---|
checkoutSession | The checkout_session is related to the payment. |
countryCode | Country code where the payment is performed. See Country coverage for a complete list of supported countries and their codes. |
callbackPaymentState | Returns the current payment process state (e.g., SUCCEEDED, FAIL, PROCESSING, REJECT), see payment status reference. Optional if you don't need the result. |
merchantSessionId | Optional identifier for merchant session tracking. Default is null. |
The possible payment states returned by callbackPaymentState are:
const val PAYMENT_STATE_SUCCEEDED = "SUCCEEDED"
const val PAYMENT_STATE_FAIL = "FAIL"
const val PAYMENT_STATE_PROCESSING = "PROCESSING"
const val PAYMENT_STATE_REJECT = "REJECT"
const val PAYMENT_STATE_INTERNAL_ERROR = "INTERNAL_ERROR"
const val PAYMENT_STATE_STATE_CANCELED_BY_USER = "CANCELED"
See the Payment Status reference to understand how SDK states relate to the full payment status and sub-status returned by the API.
Possible states:
| State | Description | Additional action required |
|---|---|---|
SUCCEEDED | The transaction or payment process was successfully completed without any errors. | No. |
FAIL | The transaction failed due to errors such as data validation issues, server connection failures, or technical/network problems. | Yes. Investigate the cause of failure (validation, network, server) and take corrective measures. |
PROCESSING | The transaction is currently in progress, awaiting approval or verification. | No. |
REJECT | The transaction was rejected due to reasons like insufficient funds or suspected fraudulent activity. | Yes. Inform the user of the rejection, provide the reason if possible, and suggest actions. |
INTERNAL_ERROR | An unexpected internal error occurred within the system handling the payment process. | Yes. Requires technical intervention to review the system, fix internal issues, and retry or inform the user. |
CANCELED | The user voluntarily canceled the transaction or abandoned the payment process. | No. |
Payment status validation
This section explains how the SDK handles payment status when users cancel or leave payment flows, and how the SDK status relates to the backend payment status in these scenarios.
Sync payment methods (Google Pay)
For synchronous payment methods like Google Pay, when a user cancels or closes the wallet UI before a payment service provider (PSP) response is received:
- SDK Status: Returns
CANCELED(CANCELLED_BY_USER) - Backend payment status: Remains
PENDINGuntil PSP timeout or merchant cancellation - Important: The SDK will not return
REJECTorPROCESSINGin this scenario
This ensures that the backend payment remains in a pending state and can be properly handled by the merchant's system.
Async payment methods (PIX and QR-based methods)
For asynchronous payment methods like PIX, when a user closes the QR code window (clicks X) before completing the payment:
- SDK Status: Returns
PROCESSING, optionally with a sub-status such asCLOSED_BY_USER - Backend payment status: Remains
PENDINGand the QR code remains valid until expiry - Checkout session reuse: Re-opening the same checkout session can display the same valid QR code
- No Automatic Cancellation: The PIX payment is not automatically cancelled when the user closes the QR window
This behavior allows users to return to the payment flow and complete the transaction using the same QR code before it expires.
Expired async payments
If a PIX QR code expires naturally:
- Backend Status: Updated to
EXPIRED - SDK Status: SDK callbacks and polling endpoints return
EXPIREDconsistently
This ensures merchants receive accurate status information when a payment method has expired.
Step 6: Get payment one-time token (OTT)
Call the method startPaymentSeamlessLite to start a payment process:
startPaymentSeamlessLite(
    paymentSelected: PaymentSelected,
    callbackPaymentState: ((String?) -> Unit)?,
    showPaymentStatus: Boolean,
)
Parameters to start the payment:
| Parameter | Description |
|---|---|
paymentSelected | Specifies the payment method, either through a vaulted token or a selected payment type. |
callbackPaymentState | Optional function handling state updates. See payment status reference for mapping. |
showPaymentStatus | This is an optional parameter. When true, displays the SDK's default result screen. |
You will receive the payment status via callbackPaymentState, which will indicate whether the payment was successful or if an issue occurred.
Step 7: Create payment
Call the method startPaymentSeamlessLite with the selected payment method to complete the payment process:
startPaymentSeamlessLite(
    paymentSelected: PaymentSelected,
    callbackPaymentState: ((String?) -> Unit)?,
    showPaymentStatus: Boolean,
)
Complementary features
For styling, themes, form options, and additional configurations, see SDK customizations.
Lite (Android)
Lite (Android) offers a streamlined integration process with essential payment functionality. Ideal for merchants who:
- Need a quick implementation with minimal customization requirements
- Want to focus primarily on card payment processing
- Prefer a ready-to-use UI that handles the payment flow
Lite (Android) includes core features like:
- Pre-built payment UI components
- Card payment processing
- Basic payment status handling
- Essential error management
For merchants requiring more advanced features like multiple payment methods, custom UI, or advanced fraud prevention, consider using our Full instead.
See Requirements above.
Step 1: Create a customer
Create a customer using the Create customer endpoint before initiating payments. This step is required to:
- Identify the person making the payment
- Enable saved card functionality (if enabled)
- Track payment history
The customer ID returned from this endpoint will be used when creating the checkout_session.
Step 2: Create a checkout session
Create a new checkout_session using the Create checkout session endpoint to initialize the payment flow. Make sure to:
- Include the customer ID obtained from the previous step
- Store the returned
checkout_sessionID for use in later steps - Remember that the
checkout_sessionis unique for each payment attempt and cannot be reused
External Browser Return HandlingIf your payment flow sends users to an external browser (for example, for 3DS authentication or bank redirects), make sure to set the
callback_urlwhen creating your checkout session. For a step-by-step guide on handling the return to your app, see Handle external browser return (callback_url).
Follow the steps in Include the library in your project above.
Step 3: Initialize SDK with the public key
Initialize the SDK:
- Get your public API keys from the Yuno Dashboard
- Create a custom application class if you don't have one
- Initialize the SDK by calling
Yuno.initialize()in your application'sonCreate()method, passing your API key and configuration:
class CustomApplication : Application() {
  override fun onCreate() {
    super.onCreate()
    Yuno.initialize(
      this,
      PUBLIC_API_KEY,
      config = YunoConfig(),
    )
  }
}
Use the data class YunoConfig to customize the SDK's behavior. Include this configuration when calling Yuno.initialize(). For example:
data class YunoConfig(
    val saveCardEnabled: Boolean = false,
    val keepLoader: Boolean = false,
    val language: YunoLanguage? = null,
    val styles: YunoStyles? = null
)
cardFlow removed from YunoConfigStarting from version 2.11.0,
cardFlowis no longer part ofYunoConfig. Card flow configuration is now handled exclusively through the CheckoutBuilder.
Step 4: Start checkout with Lite
After initializing the SDK and creating the checkout session, you can start the payment process using Lite (Android). Use startCheckout to configure the Lite flow and then mount the payment UI.
startCheckout(
  checkoutSession: "checkout_session",
  countryCode: "US",
  callbackPaymentState: { paymentState ->
      // Handle payment state: SUCCEEDED, FAIL, PROCESSING, REJECT, INTERNAL_ERROR, CANCELED
  }
)
Then call the Lite mounting method to present the flow:
startPayment(
    showStatusYuno = true,
    callbackOTT = { ott ->
        // Send OTT to your backend to create the payment
    }
)
A loader can be shown while the one-time token is generated. Use Yuno's default or implement your own with the required configuration.
Step 5: Create the payment
After receiving the one-time token from Lite (Android), create the payment using the Create payment endpoint. Use the checkout_session from the previous steps and the one-time token to create the payment.
The response from the Create payment endpoint will include the parameter sdk_action_required, which defines if additional actions are required to finish the payment based on the payment type. If sdk_action_required is true, you must call continuePayment() to complete the flow.
Headless (Android)
Yuno Headless Android SDK for payments.
Headless (Android) is ideal for merchants who:
- Need full control over the payment UI and user experience
- Want to build custom payment flows
- Require advanced integration capabilities
Headless (Android) includes core features like:
- Direct API access for payment processing
- Token generation for payment methods
- 3DS authentication handling
- Fraud prevention data collection
For merchants preferring a pre-built UI solution, consider using our Full or Lite instead.
See Requirements above.
Step 1: Create a customer
Create a customer using the Create customer endpoint before initiating payments. This step is required to:
- Identify the person making the payment
- Enable saved payment method functionality (if enabled)
- Track payment history
The customer ID returned from this endpoint will be used when creating the checkout_session.
Step 2: Create a checkout session
Create a new checkout_session using the Create checkout session endpoint to initialize the payment flow. Make sure to:
- Include the customer ID obtained from the previous step
- Store the returned
checkout_sessionID for use in later steps
The checkout_session is unique for each payment attempt and cannot be reused.
Follow the steps in Include the library in your project above.
Step 3: Initialize Headless with the public key
Import Yuno and provide a valid PUBLIC_API_KEY to initialize Headless (Android):
class CustomApplication : Application() {
  override fun onCreate() {
    super.onCreate()
    Yuno.initialize(
      this,
      PUBLIC_API_KEY,
      config = YunoConfig(),
    )
  }
}
Step 4: Start the checkout process
Call the apiClientPayment function after your customer selects a payment method to start the checkout process. This function requires configuration parameters and initiates the collection of information needed for 3DS authentication and fraud prevention tools configured in your routing.
val apiClientPayment = yuno.apiClientPayment(
  countryCode = "US",
  checkout_session = "checkout_session_id"
)
From there you can generate a one-time token using apiClientPayment.generateToken(...), handle 3DS challenges, and continue payments as documented in the Headless Android SDK reference.
Common reference
For full parameter and customization details, see the Android SDK Common Reference.
Updated about 15 hours ago