Before implementing, review the Google Pay requirements and ensure Google Pay is available in your operating countries.
Overview
- Create a checkout session with Yuno.
- Initialize Yuno’s SDK in your app (Web, Android, or iOS).
- The SDK displays the Google Pay button and handles the payment sheet.
- The customer authorizes the payment through Google Pay.
- Yuno receives the payment token and processes the transaction with your configured provider.
- Monitor the payment status via webhooks.
Requirements
- A Yuno account with API credentials (Dashboard)
- A payment provider connection configured in the Yuno dashboard that supports Google Pay
- A routing rule that includes the Google Pay payment method
- Yuno SDK integrated in your application (Web, Android, or iOS)
Integration steps
Step 1: Create a checkout session
Use the create checkout session endpoint to start a payment session:checkout_session ID to initialize the SDK.
Step 2: Initialize the SDK
Initialize Yuno’s SDK with the checkout session. The SDK automatically detects available payment methods, including Google Pay, based on your dashboard configuration. Refer to the SDK documentation for your platform:Step 3: Customer completes payment
The SDK handles the rest. When the customer selects Google Pay:- The Google Pay payment sheet appears with the customer’s saved cards.
- The customer selects a card and authorizes the payment.
- The SDK sends the encrypted payment token to Yuno.
- Yuno processes the payment through your configured provider.
Step 4: Handle the response
The SDK returns the payment result. You can also monitor payment status through webhooks for asynchronous confirmation.Create a payment with the SDK workflow
If you need to call the payment API directly while using the SDK checkout flow, set theworkflow to SDK_CHECKOUT and include the checkout session:
Enable and test Google Pay
To test Google Pay in sandbox:- Integrate Yuno’s SDK into your app.
- Create a Google test account and sign in to the Google Pay Business Console.
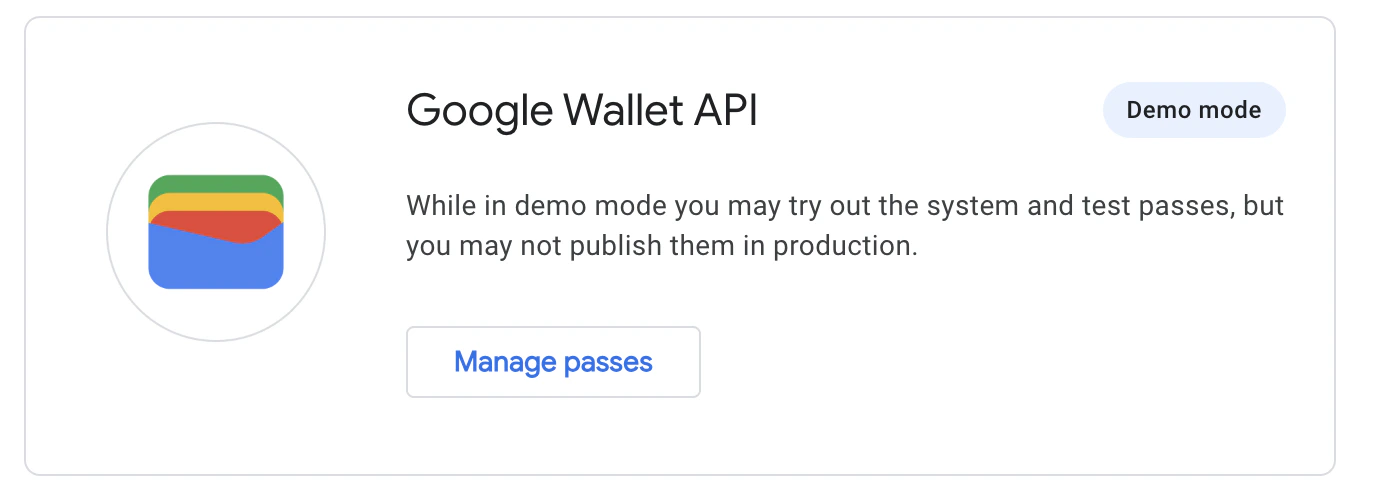
- In the Google Wallet business console, navigate to the API section and select Create a Pass to enable Demo mode.
- Download the Google Wallet App on your test device.
- Run through the payment flow to verify the integration works.