
This page documents a legacy SDK. Starting a new integration? Use the Yuno SDK. Already on a legacy SDK? Follow the migration guide.The new Yuno SDK (Web v2.x, iOS v3.x, Android v3.x) replaces the Full, Lite, Seamless, Render, Headless, and Secure Fields SDKs with one API across every platform. Legacy SDKs remain supported side by side during the transition and are scheduled for deprecation in 2027. Contact your Account Manager for migration planning.
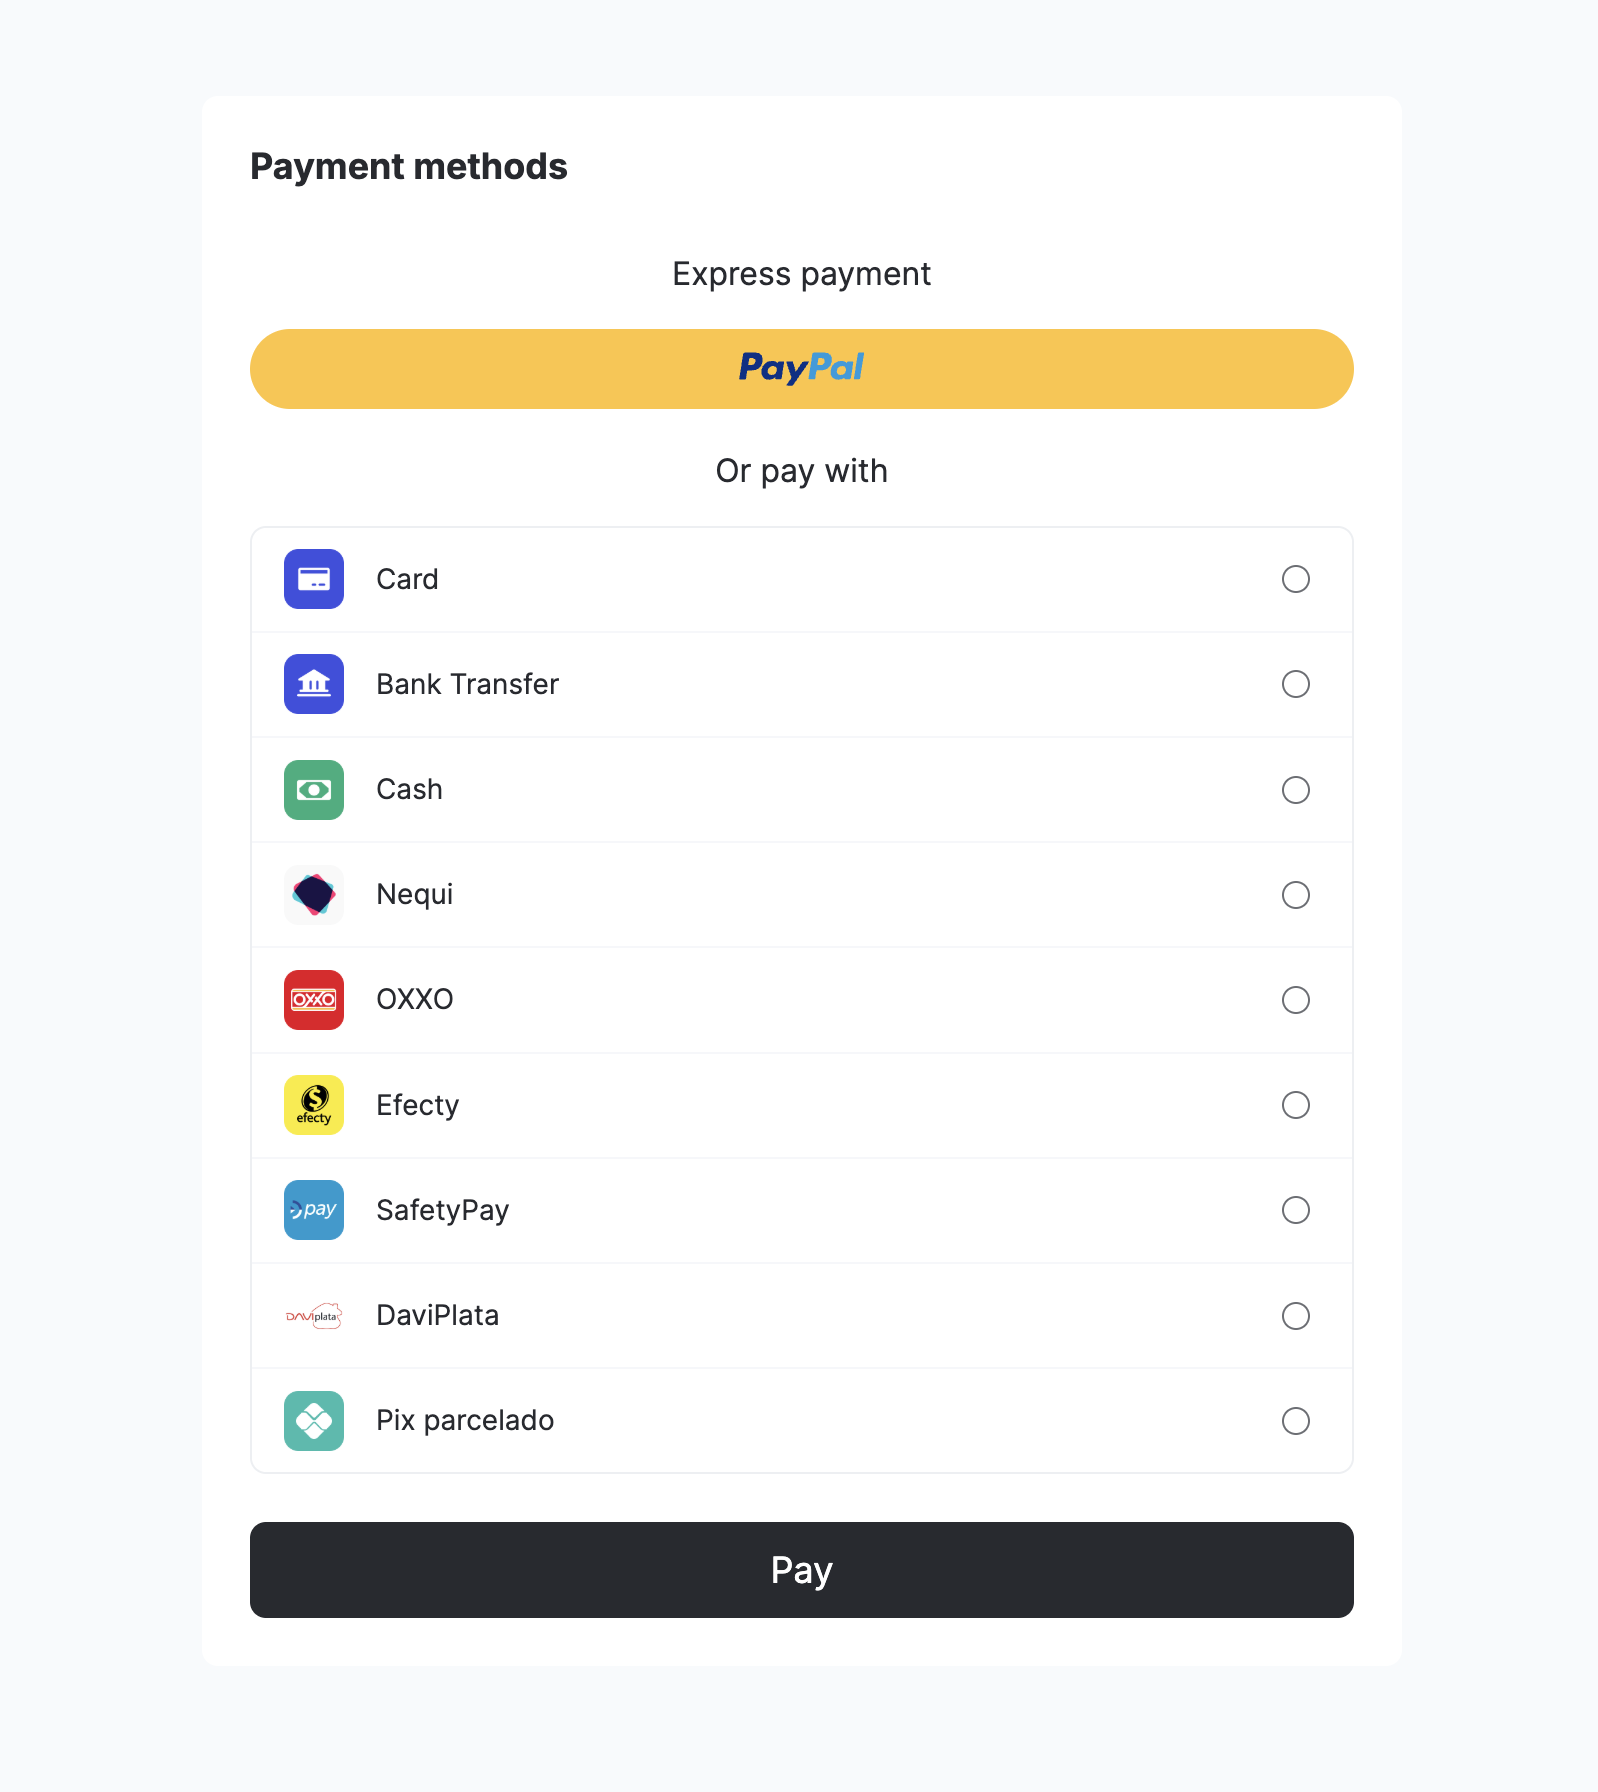
Should I use Lite or Full Seamless SDK?Use the Full Seamless SDK for automatic payment method listing and separate display of payment buttons (like PayPal). The Lite Seamless SDK gives you more control over how payment methods are displayed and organized.
Step 1: Include the library in your project
The integration guide provides three flexible methods:- Direct HTML script inclusion
- Dynamic JavaScript injection
- NPM module installation
TypeScript LibraryIf you are using TypeScript, Yuno offers a library that provides access to all available methods in the Yuno Web SDK.
Step 2: Initialize SDK with the public key
Initialize the Yuno SDK in your JavaScript application by providing a validPUBLIC_API_KEY:
CredentialsSee the credentials page for more information: Authentication
Step 3: Create a checkout session
If your workflow requires sending the
additional_data object, it can be sent as part of the checkout session.checkout_session using the Create checkout session endpoint.
- First, create a customer or retrieve an existing customer ID
- Include it when creating the
checkout_session
To control authorization and capture with cards, include
payment_method.detail.card.capture in the checkout session: set false to authorize only, true to capture immediately.Key parameters
onPaymentMethodSelect EventFor all APMs, including Google Pay, Apple Pay, and PayPal, onPaymentMethodSelected is triggered as soon as the customer chooses the payment method (before the payment flow begins). Define onPaymentMethodSelected in startSeamlessCheckout before mountSeamlessCheckout.Google Pay and Apple Pay DisplayFrom SDK version 1.5, Google Pay and Apple Pay appear as direct buttons instead of radio buttons in the payment methods list. They are displayed separately from other payment methods.
Step 4: Start the checkout process
Use the configuration below to provide a seamless and user-friendly payment experience for your customers:startSeamlessCheckout, specify the callbacks to handle payments. You can also customize the checkout interface using the texts objects.
The Seamless SDK creates the payment itself from the checkout session, so there is no createPayment callback and no Create Payment call from your server. You get the outcome in paymentResult, and your server gets it from the payment.purchase webhook. The SDK also runs payment retry for declined cards on its own, so you do not call continuePayment.
Parameters
Configure the seamless checkout with the following options:PromotionsPromotions aren’t applied when the SDK creates the payment itself (
mountSeamlessCheckout and mountSeamlessCheckoutLite): it doesn’t ask for a promotion quote or send a discount line. To use promotions on the web, integrate with Full or Lite checkout, where your server creates the payment.Customer and Merchant-Initiated TransactionsPayments can be initiated by the customer (CIT) or by the merchant (MIT). You find more information about their characteristics in Stored credentials.The step-by-step on this page refers to a customer-initiated transaction without the recurrence option. Typically, it’s used in one-time online purchases, in-store purchases, ATM withdrawals, etc.
Step 5: Mount the SDK
To present the checkout process, use theawait yuno.mountSeamlessCheckout() function. This step ensures the SDK is properly mounted on your chosen HTML element.
await yuno.startPayment(). If you skip this call, the payment form will not open.
Step 6: Start the payment flow (Required)
Callawait yuno.startPayment() immediately after await yuno.mountSeamlessCheckout() to open the selected payment method UI:
Demo AppIn addition to the code examples provided, you can access the Demo App for a complete implementation of Yuno SDKs (clone from the repository).
Mount external buttons
You can use themountExternalButtons method to render Google Pay and Apple Pay buttons in custom locations within your UI. This gives you control over where these buttons are displayed.
Parameters
Unmounting buttons
You can unmount a single external button by payment method type:Unmounting the SDK
For explicit cleanup of the Yuno SDK (for example, when a user cancels the flow or you need to remove the SDK from the DOM), use theunmountSdk() method:
Revolut Pay
There are two ways to render the Revolut Pay button:- Full checkout: the button shows up inside the payment method list rendered by the SDK.
- External buttons (
mountExternalButtons): the merchant decides which container on their page the button mounts into.
externalButtons.revolutPay inside startCheckout. Unlike other buttons, the widget is rendered by Revolut’s own SDK, so the configuration maps directly to Revolut’s button options.
External buttons integration
The merchant defines a container in their HTML and mounts the button there:Checkout session requirements
For Revolut Pay to work, the checkout session the merchant creates (backend to backend) must include these fields. The SDK reads them from the session, and nothing is configured on the frontend:amount.valueandamount.currency: required; used to create the Revolut order shown in the widget.callback_url: required; used as the mobile redirect URL to return to the merchant page (see Mobile redirects below).
Configuration (externalButtons.revolutPay)
All configuration is optional. The button is rendered by Revolut, so the options map to Revolut’s official button styles:
Mobile redirects (callback_url)
On mobile, the Revolut flow can jump to the Revolut app (or an in-app browser) instead of staying in the popup. To come back to the merchant’s page, the SDK needs redirect URLs. It resolves them automatically from the callback_url the merchant already sends when creating the checkout session (backend to backend):
- The session’s
callback_urlis used for the three outcomes:success,failure, andcancel. - Nothing extra is needed in the SDK configuration: if the session has a
callback_url, mobile redirects work; if it doesn’t, the flow stays web-only. - When the buyer returns from the Revolut app, the URL includes a
_rp_frquery parameter appended by Revolut. It’s harmless, but merchants parsing the return URL strictly should be aware of it.
Desktop vs. mobile redirectsOnly mobile redirect URLs are configured by the SDK. Desktop flows always resolve inside the widget/popup, so no redirect happens.
PayPal REDIRECT Workflow
The Yuno SDK supports aREDIRECT workflow for PayPal. This workflow is useful when PayPal was not initialized at the start of the SDK or when using a pre-existing PayPal orderId.
- PaypalButtonModal: If PayPal is not initialized, the SDK can render the PayPal button inside a modal.
- Workflow: The
REDIRECTworkflow skips fraud detection and OTT creation, utilizing the providedorderId.
Enrolling payment methods in seamless flow
You can enroll payment methods (store cards for future use) directly during the seamless payment flow by settingpayment_method.vault_on_success = true in the checkout session creation.
When vault_on_success is set to true:
- The payment method will be automatically enrolled if the payment status is
SUCCEEDED - If the payment does not succeed, no vaulting will occur
- The payment response will include a
vaulted_tokenthat you can use for future transactions
Vaulting RequirementsTo generate and receive a
vaulted_token when vault_on_success = true, the payment must reference an existing Yuno customer through customer_payer.id in the checkout session. Creating or sending the customer data inline inside the payment request does not create the customer on our side, so no vaulting will occur.Error handling
Handle errors returned by the SDK in your app, such as failed payments or validation errors. For HTTP status and response codes, see Status and response codes in the API reference.Payment retry
When a card payment comes backDECLINED or ERROR, payment retry keeps the card form open so the shopper can correct their details and try again without restarting checkout. This is disabled by default and enabled per organization by Yuno on request. It is a server-side flag, not a Dashboard or Checkout Builder setting.
In the seamless flow this is automatic: the SDK keeps the form open and drives the retry for you. In the Full Checkout, Lite, and Secure Fields flows you must call continuePayment on a declined/errored card payment to trigger it. See Payment retry in the Web Reference for details.